
7 Best Sewing Pins For Seam Assembly To Try Today
Mastering your seams starts with the right tools. Explore our top 7 sewing pin picks designed to improve precision, fabric grip, and ease during assembly.
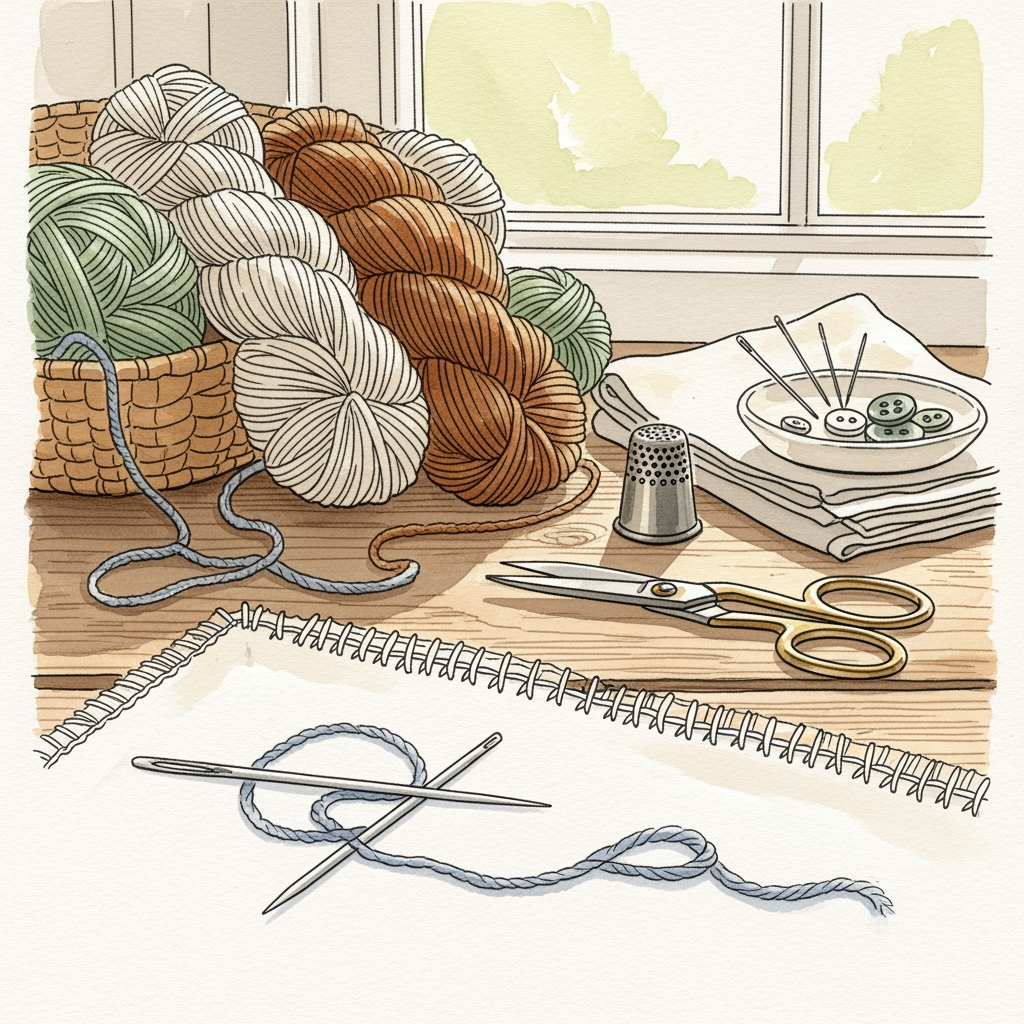
Achieving a professional-looking finish on your hand-knits depends as much on the tools used for assembly as it does on your stitch quality. While many knitters focus exclusively on needles and yarn, the humble sewing pin is the secret weapon for aligning seams and stabilizing pieces before you graft or sew. Choosing the right pin prevents distortion and ensures your hard work doesn’t lose its shape during construction. Here are seven top-tier options to elevate your finishing process.
Clover Patchwork Pins: Best for Delicate Knits

These pins are a staple in many sewing kits, and for good reason—they are remarkably thin and flexible. If you are working with a light fingering-weight wool or a delicate silk blend, you need a pin that won’t leave permanent "holes" in the fabric structure.
The shaft of a Clover pin is smooth enough to slide between stitches without catching on the ply of your yarn. Because they are so slender, they don’t distort the weight of the garment while you are measuring your seam alignment.
However, be aware that their flexibility is a double-edged sword. If you try to pin through a heavy, felted wool or a dense double-knit fabric, they are prone to bending. Use these strictly for lightweight projects where finesse is required.
Dritz Quilting Pins: Best for Sturdy Seaming
When you move up to heavier yarns—think worsted, bulky, or even rug wool—you need a pin with more backbone. Dritz quilting pins are longer and thicker than standard dressmaker pins, providing the necessary leverage to hold bulky pieces in place.
Their extra length is a massive advantage when pinning through multiple layers of a thick sweater seam. You can easily catch the edges of both pieces without the pin slipping out before you have a chance to secure the seam.
Keep in mind that these are not for delicate fibers. Because the gauge is thicker, they can leave visible gaps in fine-gauge knitting. Reserve these for your heavy-duty construction projects.
Bohin Extra Fine Glass Head Pins: Best Precision

Bohin is legendary for manufacturing quality steel, and these extra-fine glass head pins are a testament to that reputation. They are exceptionally sharp, which is critical when you need to pierce through a specific stitch loop without splitting the yarn fibers.
The glass heads are a major upgrade over plastic, as they won’t melt if you accidentally touch them with a steam iron during blocking. This makes them the ideal choice for knitters who prefer to steam-press their seams flat before sewing.
They are quite long, which offers great visibility while you are working. If you struggle with hand fatigue, the weight of the glass head provides a nice balance, making them easier to handle than lightweight plastic alternatives.
Tulip Hiroshima Sashiko Pins: Best Smooth Glide

If you have ever felt the frustration of a pin "grating" against your yarn, you will appreciate the finish on these pins. They are polished to a mirror-like shine, allowing them to glide through even the "stickiest" high-twist wools without catching.
The sharp, tapered point is engineered for precision, making them perfect for intricate assembly like setting in a sleeve. When you are aligning complex stitch patterns, you need a tool that doesn’t fight against the fabric.
While they are an investment, their durability is unmatched. They resist bending and rusting far better than budget-friendly options. If you treat your tools well, these will likely be the last pins you ever buy.
Singer T-Pins: Best for Blocking and Assembly

T-pins are the workhorses of the knitting world, especially when it comes to blocking large pieces. Their unique shape creates a natural "stop" that prevents the pin from sliding entirely through your knitting.
For assembly, they are excellent for holding heavy pieces together on a blocking board. If you are pinning a heavy cardigan to check the fit before seaming, the T-shape provides a secure anchor that won’t pull out under the weight of the yarn.
Don’t try to use these for fine detail work or small seams, as they are far too thick. They are strictly for structural stability and heavy-duty positioning.
Collins Silk Pins: Best for Fine Gauge Fabric

Silk pins are specifically designed to be ultra-thin and extremely sharp, mimicking the properties of needles used for fine tailoring. If you are knitting with lace-weight yarn or delicate mohair, these are your best friend.
Their thin profile ensures they slide between the finest fibers without causing damage or snags. Because they are so sharp, they require very little pressure to insert, which is essential when working with delicate, airy fabrics.
The tradeoff is that they are very soft. If you push them into a hard surface or a dense seam, they will bend almost immediately. Treat them with care and use them only on your most refined projects.
Prym Ergonomic Pins: Best for Comfortable Grip

Prym has reimagined the pin head with a slight curve, which makes them much easier to grip if you have arthritis or limited dexterity. The head is shaped to fit comfortably between your thumb and forefinger, reducing the strain of repetitive pinning.
The shaft is made from high-quality tempered steel, meaning they offer a good balance between strength and flexibility. They are sturdy enough for medium-weight yarns but thin enough to avoid damaging your knit structure.
These are an excellent choice for long assembly sessions. If you are finishing a large sweater and have dozens of pins to manage, the ergonomic design will make a noticeable difference in your comfort level.
Why Sharpness Matters When Pinning Knit Seams
A dull pin is a knitter’s worst enemy because it forces the yarn fibers apart rather than sliding between them. When a pin is blunt, it pushes against the yarn, stretching the stitch out of shape and potentially causing a "run" or a snag.
Sharp pins act like a needle, gliding between the plies of the yarn. This preserves the integrity of your stitch gauge and ensures that your seam remains flat and consistent.
Always test your pins on a small swatch before using them on a finished garment. If you feel resistance or see the yarn being pulled, the pin is either too thick or not sharp enough.
How to Pin Your Knitting Without Snagging Yarn
The secret to snag-free pinning is to insert the pin at a slight angle, parallel to the direction of the stitch. Avoid pushing the pin straight down through the fabric, as this is more likely to catch on the yarn’s ply.
If you are working with high-twist or metallic yarns, be extra cautious. These fibers are prone to splitting, so use the thinnest pin possible and work slowly.
- Always pin from the wrong side to avoid leaving marks on the public-facing side of the garment.
- Don’t over-pin; just use enough to hold the alignment so you can focus on your sewing.
- Check for snags by gently tugging the fabric after the pin is inserted; if it moves freely, you are safe.
Essential Tips for Perfect Seam Construction
Seaming is the final step in your project, so don’t rush it. Use a contrasting thread to "baste" your pieces together if you find that pins are shifting too much during the process.
Ensure your pieces are blocked to their final measurements before you begin. If the fabric isn’t flat, no amount of pinning will result in a professional-looking seam.
- Use a tapestry needle that matches the weight of your yarn for the final join.
- Check your stitch count along the seam line; matching them up prevents "puckering."
- Take your time; a clean, invisible seam is the hallmark of an expert knitter.
Investing in high-quality pins is a small change that yields massive improvements in the professional look of your hand-knits. By matching your pin choice to the weight and fiber content of your project, you protect your yarn and ensure your seams remain flat and secure. Remember that the best tools are the ones that work in harmony with your specific knitting style. Happy seaming, and may your final projects look as beautiful on the inside as they do on the out.
