7 Best Organizing Trays For Small Dye Tools To Try
Keep your workspace tidy with our top 7 organizing trays for small dye tools. Discover durable, space-saving solutions to streamline your crafting process.
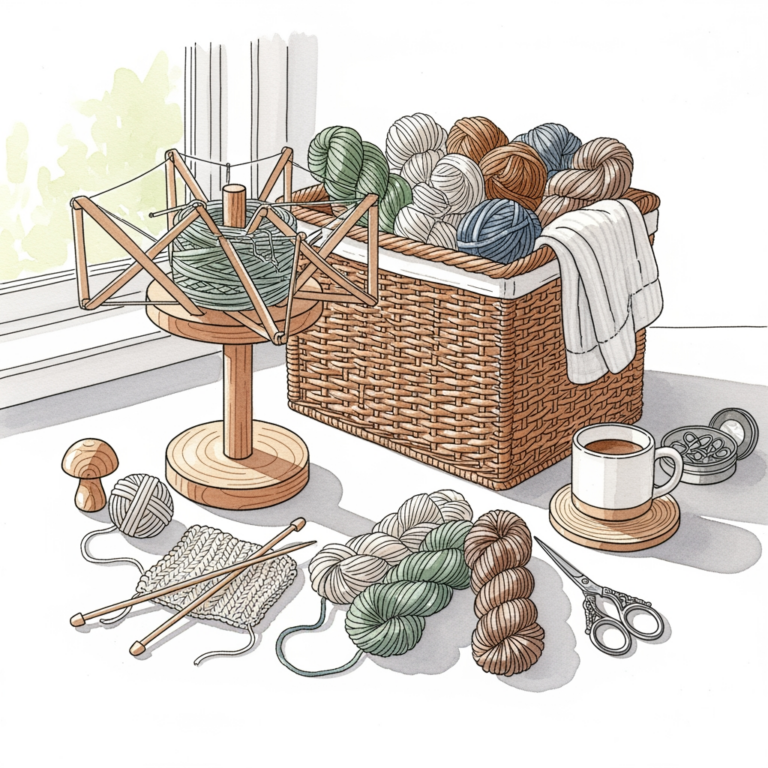
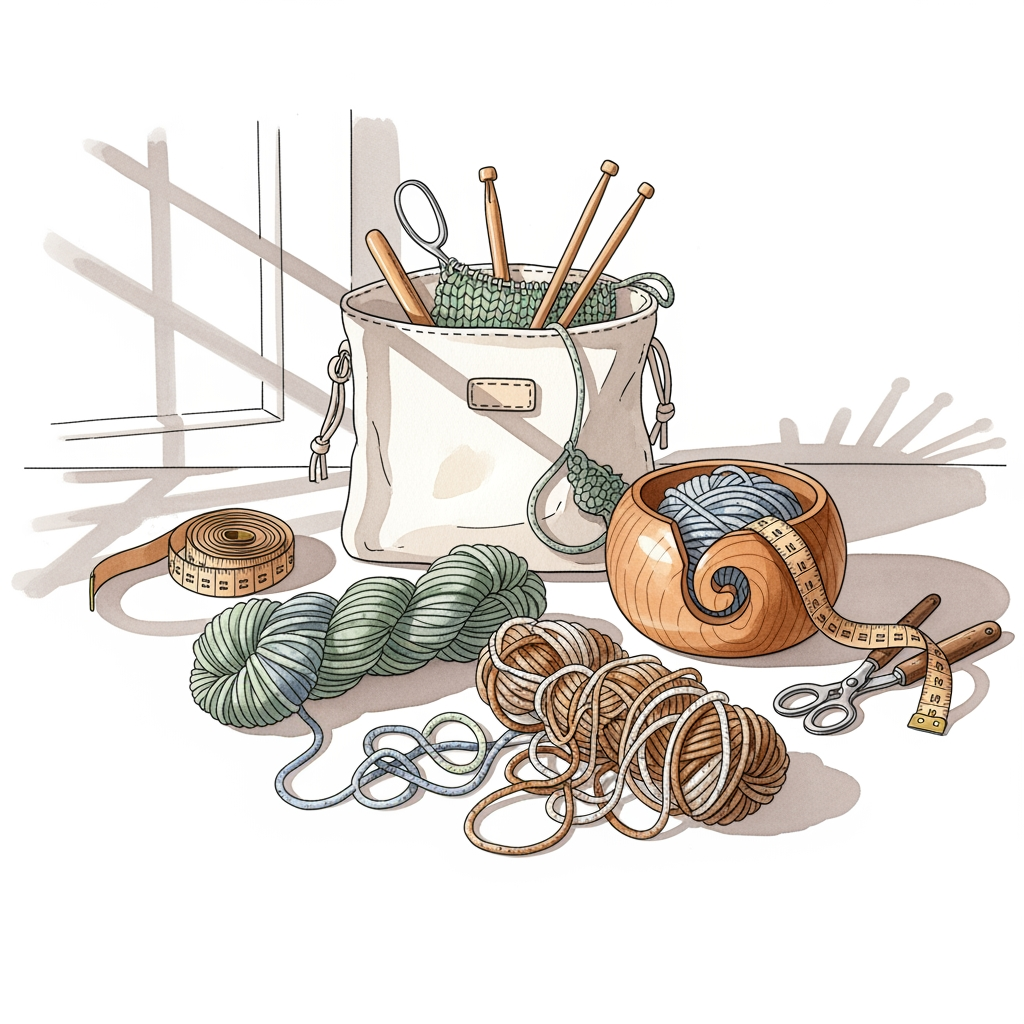
Every fiber artist knows the frustration of hunting for a tapestry needle or a specific stitch marker while in the middle of a complex lace row. Dyeing your own yarn adds a whole new layer of clutter, involving syringes, pipettes, and tiny jars of concentrated pigment. Keeping these small tools organized is the difference between a meditative dyeing session and a messy, stained disaster. Here are seven tray solutions to help you regain control of your workspace.
Deli Mesh Desk Organizer: Best Overall Pick

The Deli Mesh Desk Organizer is a workhorse for the fiber artist who values visibility. Its open-grid design ensures you aren’t digging through solid plastic bins to find that one specific 1ml syringe.
Because it is made of metal mesh, it won’t warp if you accidentally spill a little bit of acid dye or vinegar solution. It’s incredibly easy to wipe down, which is vital when you’re working with pigments that can permanently stain porous surfaces like wood or cheap plastic.
The compartmentalized structure is perfect for separating your dye powders from your measuring spoons. It keeps your tools upright and accessible, preventing the "junk drawer" effect that happens when you toss everything into a single bin.
Seville Classics Bamboo Drawer Tray

If you prefer a natural aesthetic in your studio, the Seville Classics Bamboo Drawer Tray offers a sophisticated solution. Bamboo is surprisingly durable and handles the occasional splash of water well, provided you wipe it dry immediately.
These trays are ideal for organizing your finer tools, such as stainless steel stirring rods or precision pipettes. The modular compartments allow you to group tools by function, keeping your "mixing station" separate from your "application station."
However, keep in mind that wood can be porous. If you are working with intense, highly concentrated dyes, consider lining the bottom of these compartments with a clear plastic sheet to prevent permanent staining.
Neatfreak Fabric Modular Storage Bin

Fabric bins are a game-changer if you need to move your dye tools between a kitchen setup and a dedicated craft room. The Neatfreak system is soft-sided, meaning it won’t scratch your tabletops or snag delicate hand-dyed fibers if they happen to brush against it.
These are best for storing larger, non-liquid items like gloves, masks, or apron storage. Because they are modular, you can expand your system as your collection of dye supplies grows from a few starter kits to a full professional arsenal.
The main trade-off here is absorbency. If a dye bottle leaks, fabric will soak it up, so I recommend keeping your liquid supplies in secondary plastic containers before placing them inside these bins.
Storageworks Small Woven Basket Set

Woven baskets bring a sense of order to a chaotic workspace without looking too clinical. They are excellent for holding bulkier items like rolls of masking tape, pH strips, or extra sets of rubber gloves.
I find these particularly useful for "project-based" organization. You can keep all the tools required for a specific dyeing technique—like shibori or hand-painting—in one basket, then tuck it away on a shelf when you’re finished.
Just be aware that woven materials can be difficult to clean if dye gets into the fibers. These are best suited for the "dry" side of your studio, away from the active dye baths.
InterDesign Linus Plastic Drawer Tray

The InterDesign Linus tray is the gold standard for those who like a minimalist, "see-everything" approach. Its crystal-clear plastic allows you to spot your smallest tools, like tiny measuring scoops, at a glance.
Because these are made of non-porous plastic, they are arguably the easiest to sanitize. If you spill a bit of blue dye, a quick rinse and a wipe will usually return the tray to its original state.
They fit perfectly into standard desk drawers, making them a great choice if you want to keep your dye tools hidden away when you aren’t actively working. It’s a clean, professional look that keeps your workspace feeling uncluttered.
Madesmart Classic Small Bin System

Madesmart bins are designed with soft-grip linings that prevent your tools from sliding around every time you open a drawer. This is a small detail, but it prevents your glass stirrers from clattering and potentially chipping.
These bins are particularly helpful for organizing by size. You can put your long, thin pipettes in one bin and your bulky dye jars in another, ensuring that everything has a dedicated "home."
The rounded corners are a thoughtful touch, making them very easy to wipe out. If you have a tendency to be a bit messy during the mixing process, the ease of cleaning these trays makes them a top contender.
Rebrilliant Metal Mesh Sorting Tray
The Rebrilliant metal tray is built for the knitter who is tough on their equipment. If your workspace doubles as a laundry room or garage, this tray can withstand the wear and tear of a busy household.
It’s an excellent choice for holding heavy items like glass measuring beakers or metal tongs. It won’t crack under the weight, and the mesh allows for airflow, which is helpful if you’ve just washed your tools and need them to dry completely.
While it lacks the "pretty" factor of bamboo, its utility is unmatched for a high-intensity dyeing environment. It’s a utilitarian choice that puts function firmly above form.
Essential Features for Dye Tool Storage
When selecting storage, prioritize materials that resist staining and are easy to clean. Acid dyes are unforgiving, and you don’t want your storage solution to become a permanent record of every spill you’ve ever had.
- Non-porous surfaces: Plastic, metal, and glass are superior to wood or fabric.
- Visibility: Clear or open-mesh designs prevent you from wasting time searching for tools.
- Modularity: Choose systems that can be rearranged as your tool collection expands.
Think about the "reach" of your workspace. You want your most-used tools—like your gram scale and stirring sticks—within arm’s reach, while secondary items can be tucked into deeper storage.
Organizing Your Dyeing Area for Efficiency
Efficiency in dyeing is all about minimizing movement. Group your tools by the "flow" of your process: preparation, application, and clean-up.
If you are hand-painting yarn, keep your brushes and squeeze bottles in a tray that sits right next to your dye pans. If you are doing immersion dyeing, prioritize a tray that holds your measuring spoons and chemical additives near your water source.
Avoid the temptation to keep every tool you own on the table at once. Only keep what is necessary for the current project to avoid cross-contamination and clutter.
Tips for Maintaining Your Fiber Dye Tools
Always rinse your tools immediately after use, even if you plan to dye more tomorrow. Dried dye residue can flake off and contaminate your next batch, leading to unexpected "speckles" where you didn’t want them.
Periodically soak your plastic tools in a weak bleach solution (if safe for the material) or a dedicated dye-stripping agent to keep them clean. Metal tools should be dried thoroughly to prevent rust, especially if they are exposed to acidic dye baths.
Finally, label your storage trays. It sounds simple, but knowing exactly where your "pipettes" live ensures that you put them back in the right spot every single time, keeping your studio ready for the next creative session.
Organizing your dye tools isn’t just about tidiness; it’s about protecting your creative flow and ensuring your hand-dyed yarn comes out exactly as you envisioned. By choosing the right trays, you can turn a chaotic workspace into an efficient, professional-grade studio. Take the time to set up a system that works for your specific dyeing style, and you’ll find that your projects become much more enjoyable. Happy dyeing, and may your colors always stay exactly where you want them.