6 Best Felting Brushes For Detail Work To Try
Need precision in your needle felting? We review the top 6 brushes for detail work, focusing on bristle density and durability to elevate your craft projects.
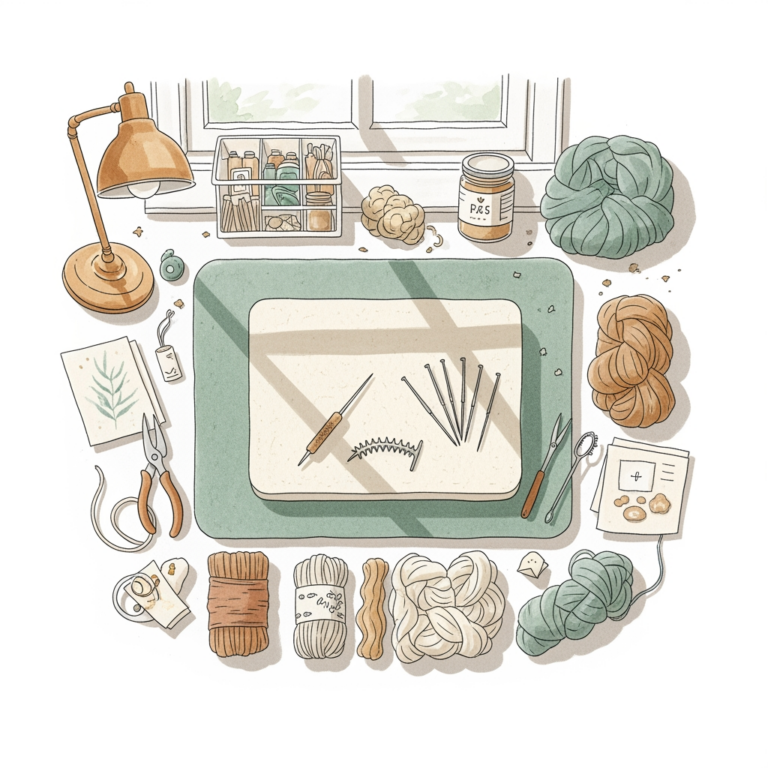
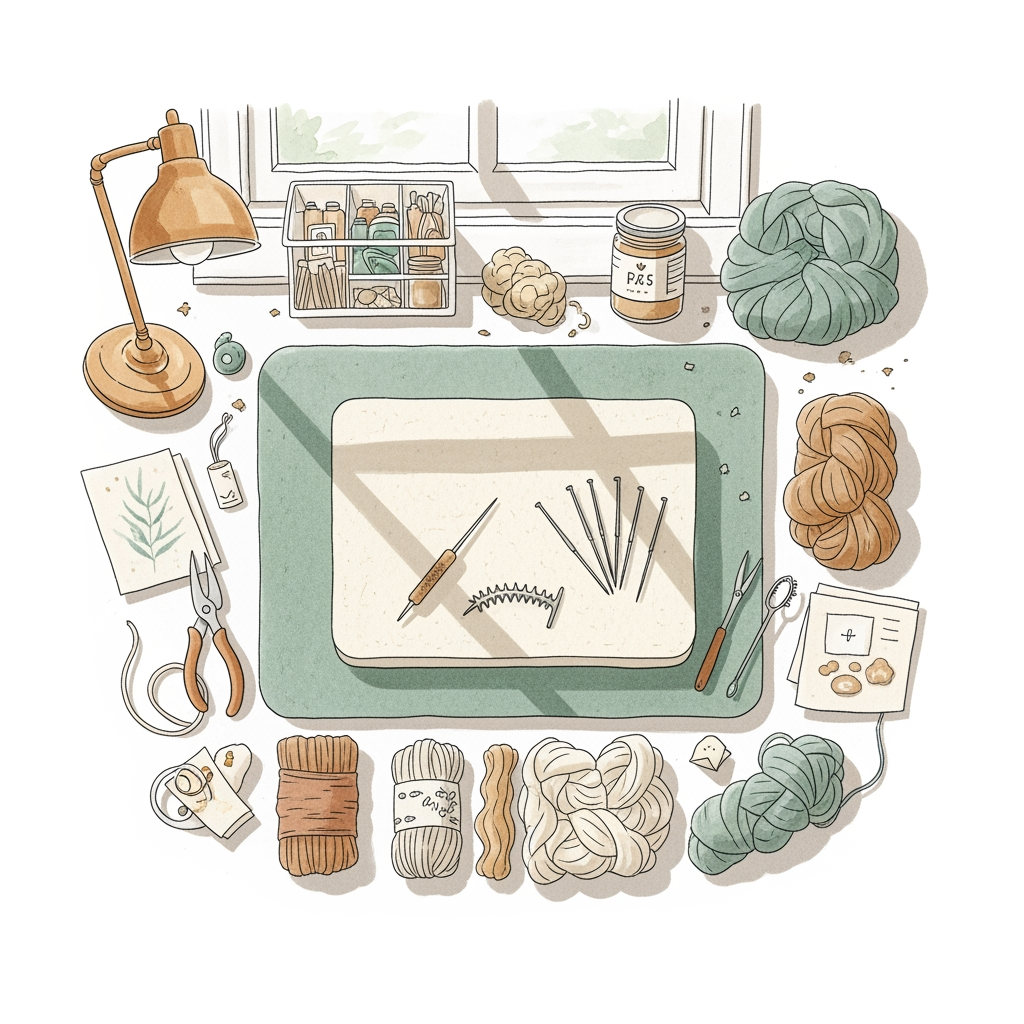
Achieving fine detail in needle felting requires a stable, forgiving surface that allows your needles to penetrate without snapping. Much like choosing the right needle material for a delicate lace project, the surface you work on dictates your control and the final texture of your piece. These six felting brushes represent the industry standards for precision work, offering different levels of resistance and longevity. Selecting the right one will transform your felting experience from a struggle against resistance to a fluid, creative process.
Clover Pen Style Needle Felting Tool Review

The Clover Pen Style tool is a staple for those who prefer an ergonomic, familiar grip. It mimics the feel of a crochet hook or a fountain pen, which reduces hand fatigue during long sessions of sculpting facial features or small animal details.
Because it holds multiple needles, it is incredibly efficient for blocking out shapes quickly. However, the true strength lies in its ability to keep your work centered and controlled, much like using a circular needle for a large garment to distribute the weight evenly.
The tradeoff here is precision; while great for bulk, it can sometimes feel cumbersome for microscopic detail. If you are aiming for hyper-realistic eyes or tiny embroidery-style felting, you may find yourself removing needles to gain more finesse.
Ashford Felting Needle Mat and Brush Set

Ashford is a name synonymous with quality in the fiber world, and their brush mat is no exception. The bristles are engineered to provide just the right amount of resistance, ensuring the wool fibers interlock deeply without the needles hitting a hard, damaging surface.
If you are accustomed to the "thwack" of a foam block, the silence and smooth penetration of these bristles will feel like a revelation. It is particularly effective for intricate 2D felting where you need to move the wool through the base fabric without distortion.
Keep in mind that the density of these bristles is quite high, which provides excellent support for delicate projects. For those working with fine merino or silk blends, this mat prevents the snagging that often ruins the surface finish of a piece.
Hamanaka Needle Felting Brush Mat Review
Hamanaka tools are widely regarded as the gold standard for precision work in Japan, where needle felting is treated with the same reverence as fine needlepoint. The brush mat is incredibly dense, providing a firm foundation that feels almost like working on a tabletop.
This density is a huge advantage when you are trying to achieve sharp edges or geometric shapes. Just as you would use a firm, non-stretchy yarn for a structured sweater, you need a firm surface to ensure your felted shapes don’t become rounded or distorted.
The only downside is that the bristles are so fine they can sometimes trap loose fibers more aggressively than other mats. You will need to keep a small slicker brush handy to clear the debris, much like you would card wool before spinning.
Woolbuddy Felting Mat and Brush Tool
Woolbuddy has gained a loyal following because their mats are designed specifically to handle the high-impact nature of deep needle punching. The base is sturdy, and the bristles are spaced to allow for easy fiber penetration while maintaining a stable work area.
This is an excellent "middle-of-the-road" option for makers who jump between small, delicate figures and larger, more robust sculptures. It offers the versatility of a general-purpose tool while still maintaining enough detail-oriented performance for fine work.
One thing to watch for is the height of the bristles; they are slightly taller than some competitors, which can lead to a bit of "spring" in your work. If you prefer a rock-solid surface, you might find yourself needing to press down slightly harder to maintain control.
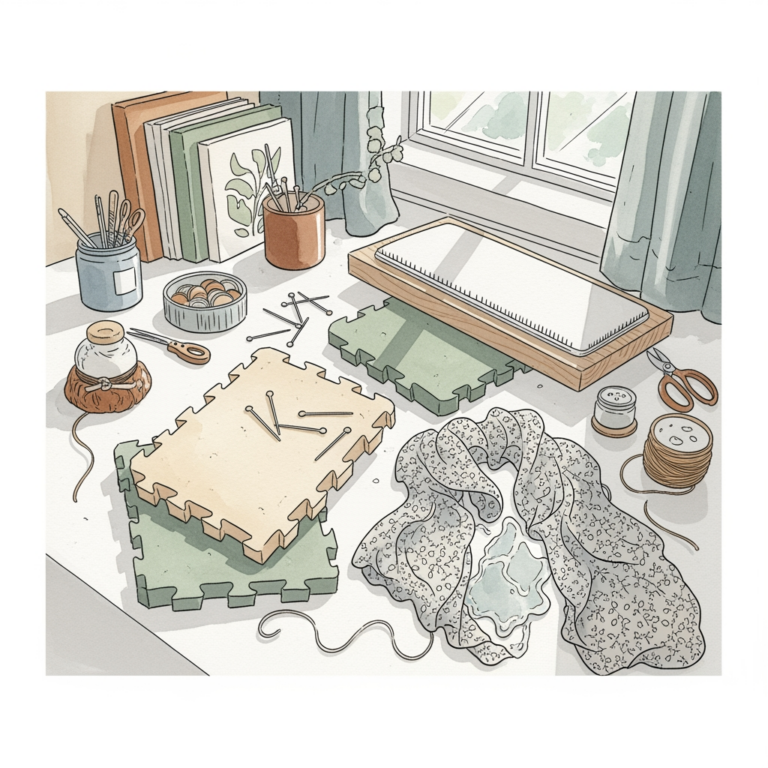
Dimensions Needle Felting Foam and Brush

Dimensions often provides a comprehensive kit approach, and their brush-style mats are designed to be accessible for beginners. They are lightweight and portable, making them a great choice if you like to take your fiber arts on the go.
While they may not have the industrial-grade longevity of the Hamanaka or Ashford mats, they are perfectly functional for learning the ropes. They provide a clear visual of how deep your needle is penetrating, which is vital for new felters learning to gauge their pressure.
Think of this as the "bamboo needle" of the felting world—reliable, affordable, and perfect for getting started. Once you have mastered your technique, you may find yourself wanting a denser surface for more advanced, professional-grade detailing.
Sullivans Needle Felting Brush Mat Guide
Sullivans offers a very consistent bristle tension that is excellent for those who struggle with uneven felting. If your pieces often end up lumpy or inconsistent, the uniform resistance of this mat can help you develop a steadier hand.
It is particularly well-suited for working with coarser wools like Corriedale or Lincoln, which require a bit more force to felt. The mat holds up well under the pressure of thicker needles, preventing the "bottoming out" that causes needle breakage.
If you are a knitter who loves the predictability of a well-spun, worsted-weight yarn, you will appreciate the reliability of this mat. It is a workhorse tool that won’t let you down in the middle of a complex project.
How to Choose the Right Felting Brush Density
Choosing a brush density is much like selecting the right needle size for your yarn weight. A denser brush provides more resistance, which is ideal for fine, intricate work where you need to move small amounts of fiber with precision.
Conversely, a less dense brush allows for deeper, faster penetration, which is better for building up the core of a sculpture. If you are working with delicate, high-micron wool, opt for a denser brush to avoid pulling the fibers through too quickly and creating holes.
Always consider the thickness of your needles as well. If you are using very fine, 40-gauge needles for surface detail, a dense brush is mandatory to prevent the needles from bending or snapping upon impact.
Essential Maintenance for Felting Brush Mats

To keep your brush mat in top condition, you must treat it with the same care you would your favorite wooden knitting needles. Over time, fibers will accumulate at the base of the bristles, which can raise the height of your work and make it unstable.
Use a wire slicker brush to remove these trapped fibers after every session. If you neglect this, the mat will lose its "grip," and you will find your wool sliding around instead of being held firmly in place.
Avoid using harsh chemicals or water to clean the bristles, as this can degrade the glue holding them in place. A simple, dry brushing is all that is required to maintain the integrity of the mat for years of use.
Preventing Needle Breakage on Felting Mats
Needle breakage is the most frustrating part of felting, but it is almost always caused by improper technique or a worn-out mat. Never force your needle at an angle; always enter and exit the wool at a 90-degree vertical plane.
If you find yourself hitting the base of the mat too hard, you are likely using too much force. Needle felting is about speed and rhythm, not brute strength; let the barbs on the needle do the work of catching and tangling the fibers.
If your mat has developed a "divot" in the center, rotate your work to the edges. Much like wearing down the heels of your socks, uneven usage patterns will eventually ruin the surface of your mat, making it impossible to get a flat, even finish.
Best Techniques for Precision Detail Felting
Precision comes from working in small, incremental movements rather than broad, deep stabs. When adding detail like a nose or a tiny petal, use only the very tip of the needle to manipulate the surface fibers.
Think of this as "weaving" the fibers into place. You are essentially using the needle to tuck the stray bits into the existing structure, building up density until the shape is crisp and defined.
Finally, always "block" your finished felted piece by gently pulling it into shape or trimming stray fibers with small, sharp scissors. Just as blocking a sweater sets the final dimensions, these finishing touches define the professional quality of your needle-felted work.

Investing in a quality felting brush is the best way to ensure your projects maintain their shape and detail over time. Just as you wouldn’t use a dull pair of scissors for a fine hem, don’t underestimate the impact your felting surface has on the final outcome. Experiment with these options to find the resistance that best complements your personal style and fiber choice. Happy felting, and may your needles stay sharp and your fibers stay exactly where you want them.