7 Best Stitch Markers For Marking Buttonhole Spacing
Struggling with buttonholes? Discover the 7 best stitch markers to ensure precise, even spacing for a professional finish on every handmade garment project.
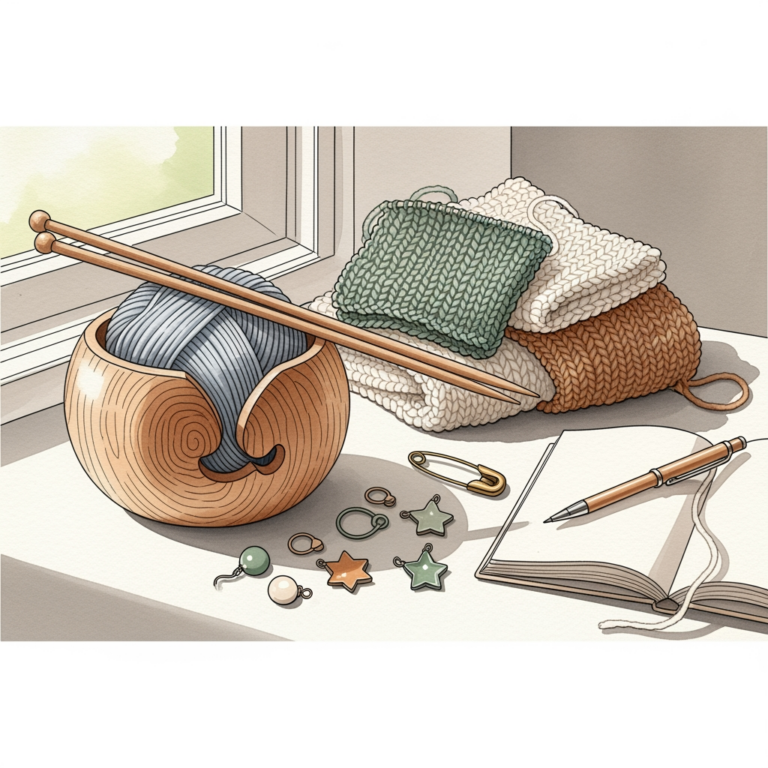
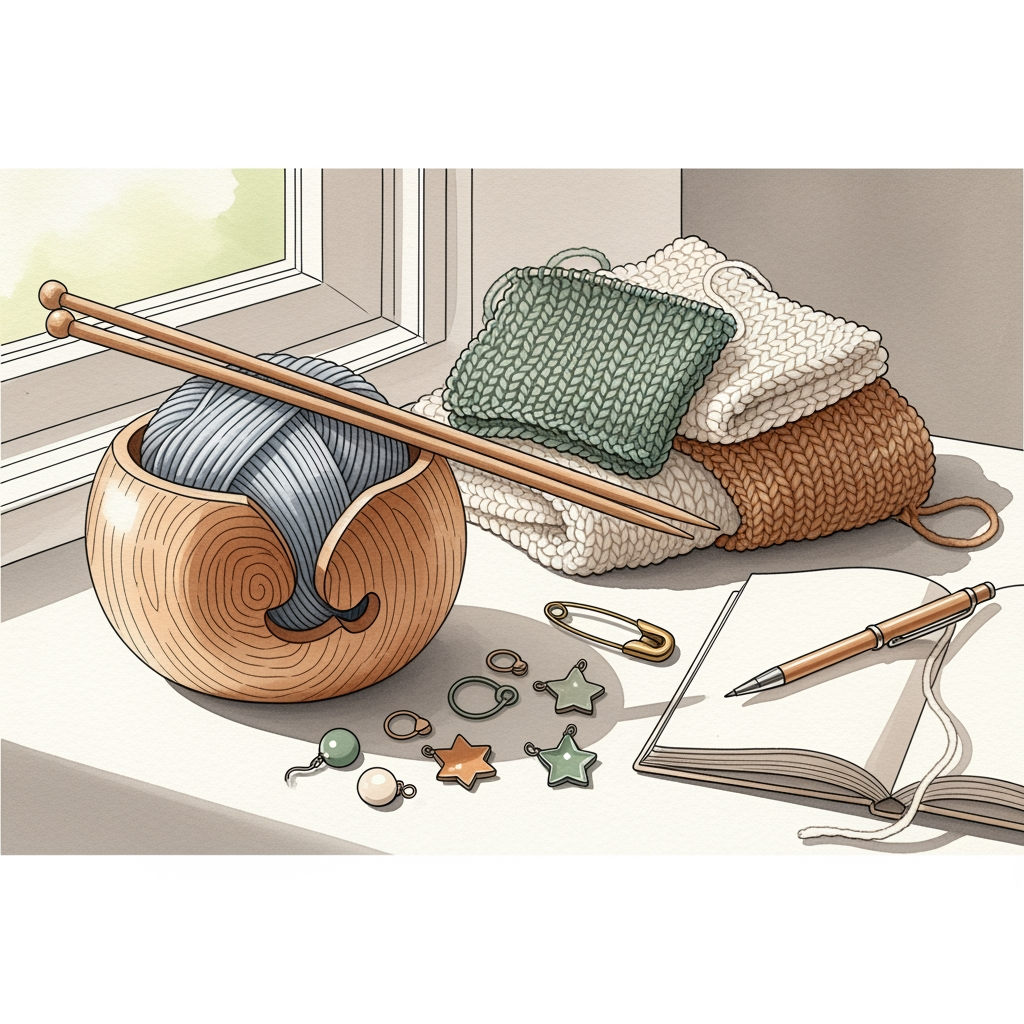
Buttonholes are the final hurdle that can either elevate a hand-knit cardigan or leave it looking amateurish. Achieving perfect, equidistant spacing requires more than just a keen eye; it demands reliable markers that won’t snag your yarn or slip out of place. Whether you are working with delicate lace weight or heavy wool, the right tool makes the difference between a professional finish and a frustrating rework. Here are the best stitch markers to help you master your button band.
Cocoknits Colorful Nylon Stitch Markers

These nylon rings are a staple in my notions bag because they are incredibly lightweight and flexible. Because they are made of nylon, they don’t have the sharp edges often found on cheaper plastic rings that can fray your yarn.
They come in a variety of vibrant colors, which is a massive advantage when you need to distinguish buttonhole placement from your standard pattern repeats. If you are working on a complex cable pattern where you need to track both the stitch count and the buttonhole intervals, color-coding is a lifesaver.
The downside is that they are round rings, meaning they cannot be locked onto a specific stitch. They are best used by sliding them onto your needle to denote where a buttonhole should be worked on the next row.
Clover Locking Stitch Marker Assortment

Clover’s locking markers are essentially the industry standard for a reason. They function like a tiny safety pin, allowing you to anchor them directly into the fabric of your button band.
I reach for these when I am working on a sweater with a heavy gauge, like an aran weight wool. They are sturdy enough to stay closed even if your knitting bag gets tossed around, ensuring your marks don’t migrate while you take a break.
Be mindful that the plastic "clasp" can occasionally catch on delicate fibers like mohair or single-ply yarns. If you are working with a fuzzy yarn, you must be very gentle when opening and closing the marker to avoid snagging the halo.
Dritz Bamboo Stitch Marker Ring Set

Bamboo markers offer a unique tactile experience that many knitters find soothing. They are extremely smooth and have a natural, matte finish that won’t slide around as aggressively as polished plastic or metal.
These are perfect for beginners who are still getting the hang of tension. Because they are slightly "grippier" than their synthetic counterparts, they stay put on your needle without constantly sliding into your working area.
However, because they are wood-based, they can be fragile if you accidentally crush them in your knitting bag. Always store these in a small tin rather than loose in your project pouch to maintain their integrity.
Tulip Heart-Shaped Locking Markers
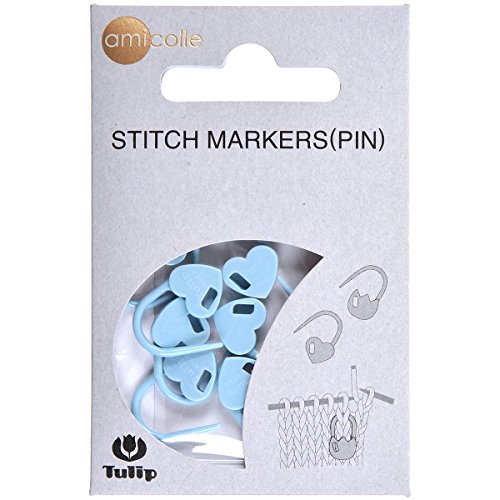
If you want a bit of whimsy without sacrificing function, these heart-shaped markers are surprisingly ergonomic. The shape isn’t just for show; the rounded edges are incredibly gentle on high-twist yarns that are prone to splitting.
These are particularly excellent for marking the exact center of a buttonhole if you are doing a complex technique like a one-row buttonhole. The specific shape makes them easy to grab and reposition with your fingers, even if you have stiff joints.
They are a bit of an investment compared to bulk packs, but the quality of the plastic is superior. They don’t lose their "snap" over time, meaning they will continue to lock securely even after years of use.
Susan Bates Split Ring Stitch Markers

Split ring markers are the "set it and forget it" option for many experienced knitters. They don’t have a hinge or a clasp, meaning there is absolutely nothing for your yarn to snag on while you work.
They are ideal for marking buttonhole spacing on dense, tightly knit bands where a locking mechanism might be too bulky. You simply slide them onto the stitch and leave them there until you are ready to cast off.
The trade-off is that they can occasionally fall out if you are working with a very slippery fiber, such as bamboo or silk. If you are using a high-slick yarn, these might be better suited for stationary marking rather than active movement.
Katrinkles Wooden Numbered Markers

Katrinkles markers are a brilliant tool for those who struggle with counting rows between buttonholes. Having a marker that is physically numbered allows you to keep track of your progress without constantly referring back to your notes.
These are laser-cut from wood and are exceptionally lightweight. They feel substantial in your hand, which provides a nice sensory feedback loop when you are working on a long, repetitive button band.
Because they are stationary rings, they are best used by placing them on the needle between stitches. I recommend these for knitters who prefer to keep a physical log of their progress directly on the needles.
Knitter’s Pride Rainbow Metal Rings
Metal rings are the ultimate choice for speed. If you are a fast knitter, the way these glide across your needles is unmatched by any plastic or wooden alternative.
The rainbow finish is not just aesthetic; it actually helps the markers stand out against almost any yarn color. If you are working with a dark navy or black wool, these bright metal rings will be highly visible.
Be aware that these are not locking markers. They are best for planning your spacing before you begin the button band, allowing you to see the visual rhythm of your buttons before you commit to the work.
Why Locking Markers Matter for Buttonholes
Buttonhole spacing is rarely just about math; it is about the physics of how your fabric behaves. If you don’t mark your placement, you run the risk of "drift," where your spacing gradually changes as you work up the band.
Locking markers allow you to "pin" your placement onto the fabric before you actually knit the hole. This lets you step back and look at the project as a whole, ensuring the buttons look balanced against the length of the garment.
Without a physical anchor, it is far too easy to miscount a row or two. Even a one-stitch discrepancy can make a buttonhole look crooked, which is a glaring flaw in an otherwise perfect garment.
How to Measure Even Buttonhole Spacing
To get perfect spacing, always measure your band while it is slightly blocked. If you measure on a limp, unblocked band, the weight of the fabric will distort your results and lead to uneven button placement.
Use a flexible tape measure to determine the total length of your button band. Divide that length by the number of buttons you intend to use, then add a small buffer for the top and bottom edges.
Once you have your measurements, use your locking markers to pin those exact spots. I always recommend placing the buttons on the garment and pinning them in place before you knit the holes to ensure the visual weight is correct.
Troubleshooting Buttonhole Alignment Issues
If you find that your buttonholes are pulling or distorting, check your tension on the row immediately following the buttonhole. Often, we knit tighter around the hole, which creates a slight pucker in the fabric.
If your markers are falling out, you may be using a locking marker that is too large for your stitch gauge. Switch to a smaller, thinner marker that sits flush against the fabric to reduce the drag on the yarn.
If the buttonholes still look uneven after blocking, do not panic. A small amount of "invisible" duplicate stitch or a carefully placed bit of reinforcement on the back of the band can often correct minor alignment issues without having to rip back your work.
Selecting the right stitch marker is a small but vital step in ensuring your hard work produces a polished, professional result. By choosing tools that suit your specific fiber and project needs, you eliminate the guesswork that often leads to uneven button bands. Take your time to measure, mark, and verify your spacing before you begin your buttonholes. With these tools in your kit, you can approach your next cardigan with total confidence.