7 Best Felting Needle Handles For Ergonomic Comfort
Discover the top 7 ergonomic felting needle handles. Learn how these tools reduce hand strain and improve precision for comfortable, long-term craft sessions.
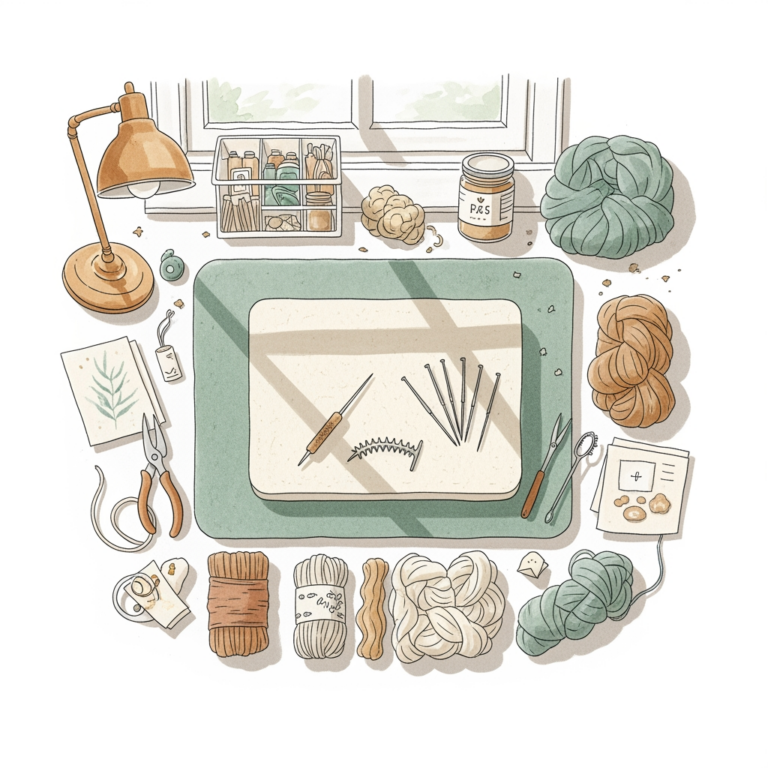
Needle felting is a rhythmic, meditative craft, but hours of repetitive stabbing can quickly lead to cramping and fatigue. Much like choosing the right circular needles for a long-term sweater project, your felting handle acts as the bridge between your hand and your fiber. The right tool transforms a taxing chore into a seamless extension of your creative process. Investing in an ergonomic handle isn’t just about luxury; it’s about ensuring you can keep crafting for years to come.
Clover Pen Style Needle Felting Tool: Best Overall

The Clover Pen Style tool is the gold standard for many fiber artists because it mimics the natural mechanics of holding a writing utensil. If you have spent years holding knitting needles, this grip will feel instantly intuitive and comfortable.
Its slim profile allows for excellent visibility, which is crucial when you are adding fine details to an animal’s face or shaping a delicate ear. The spring-loaded mechanism provides a satisfying bounce, reducing the physical effort required to retract the needle from dense wool roving.
However, the pen style is best suited for light sculpting rather than heavy-duty core building. If you are working on a massive project, the thin barrel might eventually cause some strain for those with larger hands. It remains the most versatile choice for the majority of felters.
Clover Three Needle Felting Tool: Best for Larger Areas

When you are building the foundation of a 3D sculpture, you need efficiency to keep your momentum going. The Clover Three Needle tool allows you to cover more surface area with every single stab, significantly cutting down your production time.
Think of this like switching from a thin fingering weight yarn to a chunky weight; you are moving more fiber with less effort. The cluster of needles creates a denser, more uniform felt in a fraction of the time it takes with a single needle.
Be mindful that using three needles simultaneously requires a steady hand to avoid breakage. If you hit a hard spot in your core wool, the resistance can snap these needles faster than a single needle would. Use this for the initial bulk-up phase, then switch to a single needle for the final surface smoothing.
Ashfords Wooden Needle Felting Tool: Best Ergonomics

There is something undeniably satisfying about the weight and texture of natural wood in your palm. The Ashford handle is crafted to fit snugly in the hollow of your hand, encouraging a relaxed grip that prevents the "death grip" so many beginners develop.
Because wood is warmer and slightly more tactile than smooth plastic, it offers a level of comfort that is hard to beat during long sessions. It feels substantial, much like a well-turned set of wooden knitting needles that have been polished to perfection.
The tradeoff here is the lack of a spring-loaded mechanism. You are responsible for the full range of motion, which can feel a bit more manual compared to the Clover tools. If you prefer a tool that feels like a traditional craft implement rather than a modern gadget, this is your best bet.
Hamanaka Needle Felting Grip: Best for Precision

If you are working on miniature projects or intricate surface embroidery, the Hamanaka grip offers unparalleled control. It is designed to be held closer to the needle tip, providing a level of stability that is essential for fine-tuned work.
This tool shines when you are "painting" with wool or adding tiny color accents to a larger piece. Because the handle is compact, you can maneuver it into tight corners and delicate curves with ease.
It is definitely a specialized tool rather than an all-purpose one. If you have larger hands or are performing repetitive, heavy-duty felting, you might find this grip a bit too small for extended use. Keep it in your kit specifically for those final, high-detail flourishes.
Felted Sky Multi-Needle Tool: Best for Sculpting

The Felted Sky tool is a favorite among those who treat their fiber like clay. It offers a unique balance between the speed of a multi-needle tool and the maneuverability of a single needle, making it a dream for complex sculpting.
The design allows you to adjust the needle configuration, which is a massive advantage when you need to switch between broad shaping and precise detail work. It feels professional and sturdy, designed to withstand the rigorous demands of frequent, high-volume felting.
Because it is a more advanced tool, it requires a bit of a learning curve to master the weight distribution. It is an investment piece for the dedicated felter who knows exactly what they need from their tools.
Bear Creek Felting Tool: Best for Comfort Grip

The Bear Creek tool is designed with a focus on the anatomy of the hand, featuring a soft-touch, ergonomic grip that minimizes pressure points. If you find your knuckles aching after twenty minutes of work, this handle is specifically engineered to alleviate that stress.
The ergonomic shape encourages a neutral wrist position, which is vital for preventing repetitive strain injuries. It feels like an ergonomic crochet hook—designed to be held comfortably for hours on end without causing fatigue.
It is slightly bulkier than other options, which might take some getting used to if you are accustomed to thin, pen-like tools. However, for those with arthritis or hand sensitivity, the trade-off in size for the gain in comfort is well worth it.
Woolbuddy Felting Handle: Best Beginner Option
The Woolbuddy handle is the perfect entry point for someone just starting their felting journey. It is simple, affordable, and gets the job done without overwhelming the user with complex features or adjustments.
It provides a secure, comfortable hold that helps beginners learn the proper angle for stabbing without the needles slipping. It is a no-nonsense tool that allows you to focus on learning how your wool reacts to the needle rather than fiddling with settings.
While it lacks the advanced ergonomic features of the higher-end tools, it is a fantastic "workhorse" that will serve you well while you decide if felting is a long-term passion. It is a reliable, sturdy foundation for any beginner’s kit.
Why Ergonomic Handles Prevent Hand Strain Injuries
Repetitive stabbing can lead to tendonitis and nerve compression if your tools aren’t working with your body. When you grip a thin, unpadded needle, your hand muscles have to work overtime to maintain control, leading to premature fatigue and potential long-term injury.
Ergonomic handles solve this by increasing the surface area in contact with your palm, which distributes pressure more evenly. By keeping your wrist in a neutral position, you avoid the awkward angles that often cause inflammation in the carpal tunnel.
Think of it just like your knitting posture: if you hunch over or grip your needles too tightly, you will feel the effects in your shoulders and wrists. Your felting handle is the primary interface for your craft; making it ergonomic is a form of self-care.
How to Select the Right Needle Count for Projects
Choosing the right number of needles is all about matching your tool to the stage of your project. For the core of a sculpture, you want a multi-needle tool to condense the fiber quickly.
- 1 Needle: Essential for finishing, surface detail, and attaching small parts.
- 3 Needles: Perfect for general shaping and building volume in medium-sized projects.
- 5+ Needles: Reserved for large-scale projects where you need to felt down massive amounts of wool quickly.
Always remember that more needles do not always equal better results. Using too many needles on a small, delicate area will cause the wool to look pitted and uneven. Start with fewer needles and add more only if the project size demands it.
Essential Maintenance for Your Felting Tool Tips
Your needles are the most important part of your tool, and they require regular care to stay effective. A dull or bent needle will not only make your work harder but can also damage your fiber by tearing it rather than interlocking it.
Check your needles before every session by running your finger lightly over the tip to feel for burrs or hooks. If a needle feels "scratchy" or catches on the wool, it is time to replace it.
- Store in a dry place: Moisture can cause rust, which will ruin your wool.
- Keep a spare set: Always have extra needles on hand, as they are consumables that will eventually break.
- Use the right surface: Always felt onto a dense foam pad or a wool mat to prevent the needles from hitting a hard surface, which is the #1 cause of breakage.
Choosing the right felting handle is a deeply personal decision that should prioritize your physical comfort and the specific needs of your project. Whether you are building massive sculptures or adding delicate details, there is a tool designed to make the process more enjoyable. By paying attention to how your hand feels during your craft, you can ensure your felting remains a source of joy rather than pain. Take your time, experiment with different grips, and listen to what your hands are telling you.