6 Best Felting Needles For Wool Repair To Own
Restore your wool items with precision. We review the six best felting needles for effective repairs, highlighting essential gauges for every fiber project.
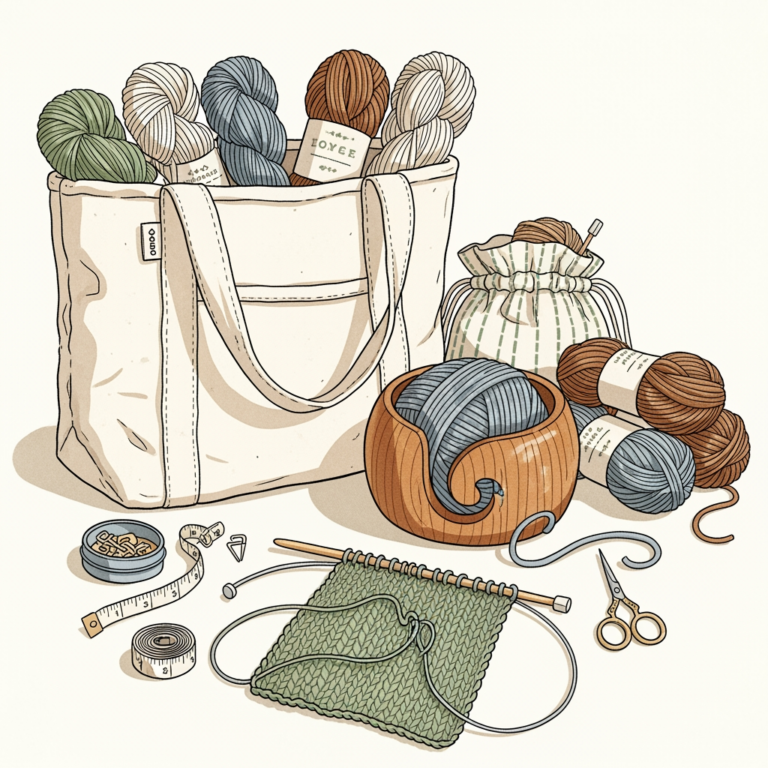
Whether you are mending a moth-eaten heirloom sweater or reinforcing a thinning heel on a hand-knit sock, the right felting needle is your most reliable tool. These specialized needles use tiny, hooked barbs to interlock wool fibers, effectively "weaving" repairs directly into the fabric. Selecting the correct gauge and brand can mean the difference between an invisible mend and a bulky, unsightly patch. Here are the top six needle choices to keep in your fiber arts toolkit for seamless wool repairs.
Clover Pen Style Needle Tool: Best All-Rounder

The Clover Pen Style tool is a staple in many knitting bags because of its ergonomic, pen-like grip. It reduces hand fatigue significantly when you are working on long, tedious repairs like reinforcing a worn-out elbow.
This tool typically houses three needles, allowing you to cover more surface area quickly. It is an excellent choice for stabilizing larger holes before you go in with finer needles for the finishing touches.
However, be aware that the fixed spacing of the needles means it isn’t ideal for micro-repairs or tight spaces. Think of this as your "heavy lifting" tool for structural mending rather than delicate surface work.
Groz-Beckert Felting Needles: Best for Precision

Groz-Beckert needles are the industry standard for a reason—they are manufactured with incredible consistency. If you are a professional restorer or someone who demands surgical precision, these are the gold standard.

Because their barbs are engineered to be exceptionally sharp and uniform, they penetrate dense wool fibers with minimal resistance. This is crucial when you are trying to graft new wool into a delicate lace project without distorting the surrounding stitches.
The tradeoff here is that they can be brittle if you are heavy-handed. Always work at a perpendicular angle to your fabric to avoid snapping the needle shaft, especially when working through thick, multi-ply yarns.
Hamanaka Fine Felting Needles: Best for Detail

When you need to perform an "invisible" mend on fine-gauge knitting, such as a fingering-weight shawl, Hamanaka needles are your best friend. They are designed to be exceptionally fine, leaving almost no trace of entry.
These needles excel at sculpting small tufts of wool into place. If you are repairing a snag in a delicate garment, these needles allow you to gently coax the loose fibers back into the knit structure without damaging the integrity of the yarn.
They are not meant for aggressive felting or heavy structural work. Using them on thick, felted wool will likely result in bent needles, so save these specifically for your finer, high-end projects.
Ashford Felting Needle Pack: Best for Beginners

Ashford offers a balanced assortment that takes the guesswork out of the purchasing process. For a knitter just starting to experiment with needle felting repairs, this variety pack is the perfect entry point.
The pack usually includes coarse, medium, and fine needles, allowing you to learn how different gauges interact with various yarn weights. You can start with the coarse needle to bridge a gap and finish with the fine needle to smooth the texture.
Don’t feel pressured to use every needle in the pack immediately. Take the time to test each one on a swatch of scrap yarn to understand how much force is required for each gauge before approaching your actual garment.
Schmetz Felting Needle Set: Best for Durability
Schmetz is a titan in the sewing machine needle world, and their felting needles carry that same reputation for rugged reliability. If you find yourself frequently mending heavy-duty wools like thick roving or bulky sweater knits, these needles are built to last.
They have a robust shaft that resists bending even when you are working through dense, tightly-spun fibers. This makes them a reliable choice for repairs on outerwear or heavy woolen blankets where you need a bit more "muscle" behind your needle.
The durability comes at the cost of being slightly thicker than precision needles. They may leave larger entry holes, so they are better suited for rustic, textured yarns rather than delicate, smooth-plied luxury fibers.
Bear Creek Felting Needles: Best for Soft Wool
Bear Creek needles have a reputation for being gentle on delicate fibers like alpaca, angora, or high-end Merino. If your repair involves soft, lofty yarns, you want a needle that catches fibers without shredding them.
These needles are designed with a slightly smoother barb profile. This allows them to interlock the soft, delicate fibers of luxury wools without causing the "pilling" or fiber breakage that can happen with more aggressive, industrial-grade needles.
Use these when you want to maintain the halo and softness of your yarn after the repair is complete. They are perfect for mending heirloom pieces where preserving the original texture of the fiber is just as important as fixing the hole.
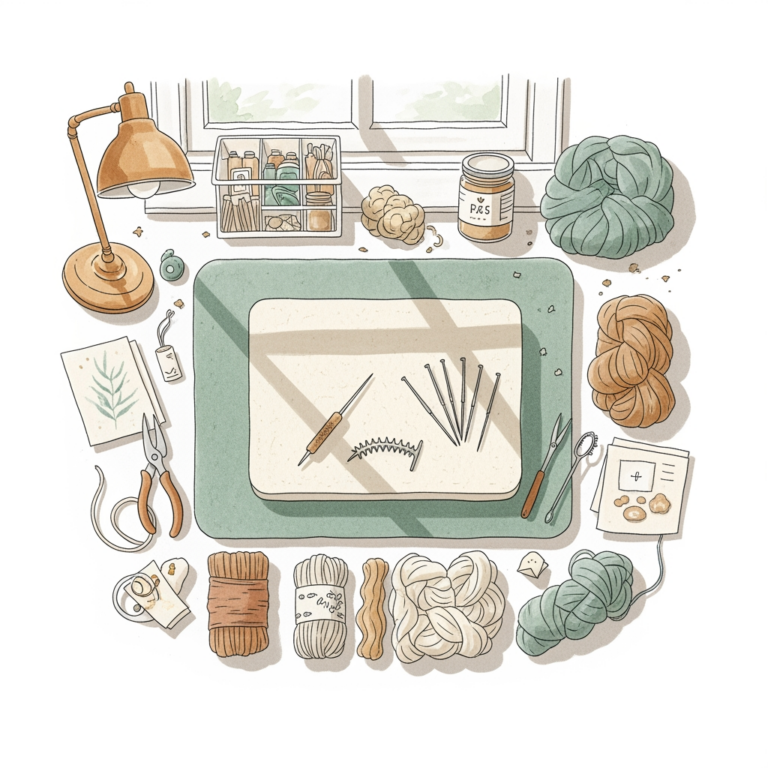
Understanding Needle Gauges and Barb Patterns

Needle sizing is counter-intuitive: the higher the number, the finer the needle. A 32-gauge needle is quite coarse and designed for fast, heavy felting, while a 42-gauge needle is extremely fine and meant for delicate surface detailing.
Barb patterns also vary significantly between brands. Some needles have barbs along the entire length of the blade, while others—often called "crown" or "finishing" needles—have barbs only at the very tip.
- Coarse (32-36 gauge): Best for initial structural repair and working with thick, bulky yarns.
- Medium (38 gauge): The workhorse gauge for most standard worsted-weight wool repairs.
- Fine (40-42 gauge): Best for finishing, smoothing, and working on delicate, lightweight garments.
Essential Safety Tips for Needle Felting Work
Felting needles are incredibly sharp, and because the work requires repetitive, rhythmic motion, it is easy to lose focus. Always use a foam or brush mat underneath your project to catch the needle point; never hold the fabric in your hand while felting.
If you are working on a small area, use a thimble or a small piece of leather to protect your fingers. It is surprisingly easy for a needle to slip through a thin spot in the fabric and catch your skin.
Keep your workspace well-lit and free of distractions. If you find yourself getting tired or frustrated, put the project down; fatigue is the leading cause of needle breakage and accidental finger pricks.
How to Properly Maintain Your Felting Needles
Felting needles are consumables, but proper care extends their lifespan significantly. After each use, wipe them down with a soft, dry cloth to remove any lanolin or dirt buildup that can dull the barbs.
Store your needles in a dry place to prevent rust, which can compromise the structural integrity of the metal. If you notice a needle starting to drag or snag, it is likely dull or slightly bent; do not try to sharpen it, as this will ruin the barb geometry.
When a needle becomes bent, discard it immediately in a sharps container. A bent needle is a safety hazard and will create uneven, distorted results in your repair work.
Troubleshooting Common Wool Repair Challenges
If your repair looks "lumpy" or uneven, you are likely using a needle that is too coarse for the yarn weight. Switch to a finer gauge and use shorter, more controlled strokes to integrate the new wool more gradually.
If the new wool isn’t "sticking" to the old fabric, you may be working on a non-wool fiber. Needle felting only works on animal fibers with scales (like wool, alpaca, or mohair); it will not work on cotton, acrylic, or silk.
Lastly, if you notice holes appearing where you are felting, you are likely over-working the area. Stop as soon as the patch feels secure; over-felting can break the original fibers of the garment, turning a small hole into a much larger problem.
Mastering the art of wool repair is a transformative skill that allows you to cherish your hand-knits for years, if not decades. By choosing the right needle for your specific fiber and project, you can turn a devastating snag into a nearly invisible mend. Remember that practice is the best teacher, so start with some scrap swatches before tackling your favorite sweater. With a patient hand and the right tool, your repairs will become a seamless part of your garment’s unique history.