6 Best Pattern Markers For Tracking Rows To Try
Keep your place effortlessly with these 6 top pattern markers. Discover reliable tools to track rows accurately and simplify your complex knitting projects today.
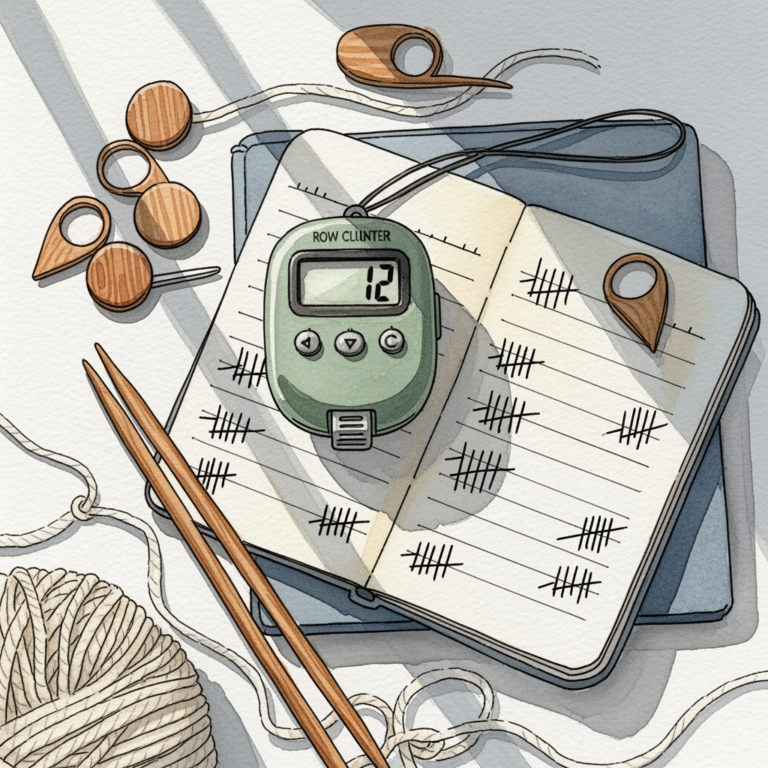
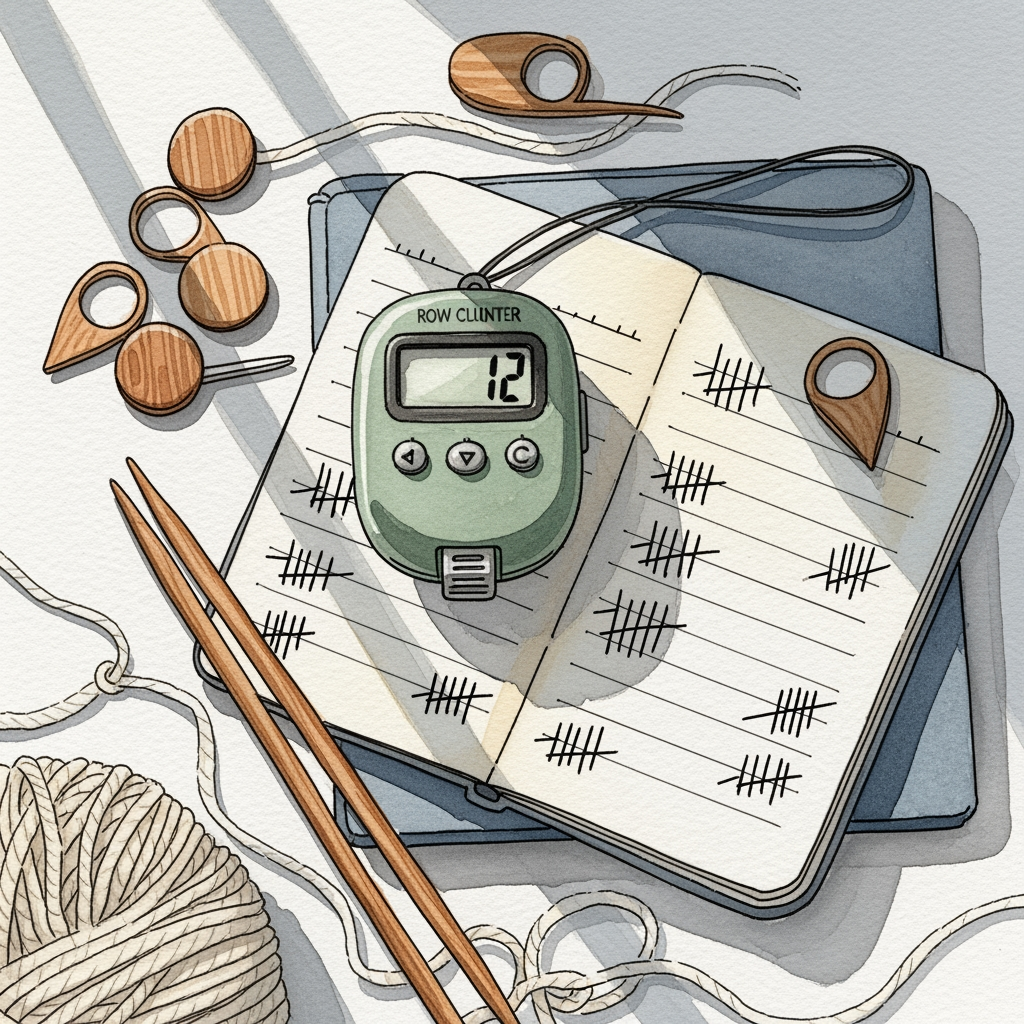
Tracking your progress through complex lace charts or long, repetitive stockinette sections is the secret to maintaining your sanity as a knitter. Without a reliable marking system, you are essentially flying blind, leading to dropped stitches and miscounted repeats. The right tool acts as your external memory, allowing you to focus on your tension and rhythm rather than keeping a tally in your head. Here are the best markers to help you stay on track and keep your project moving toward the bind-off.
Cocoknits Colored Ring Markers: Best Overall
These markers are a staple in my notions bag because they are incredibly thin and snag-free. Because they are made of nylon-coated steel, they have a slight weight to them that helps them sit neatly against the needle, preventing the "clutter" that thicker plastic rings often create.
The real magic is in the color-coding. When you are working on a stranded colorwork project, you can use specific colors to denote different chart repeats or the start of a round. This visual shorthand saves you from constantly double-checking your pattern instructions.
However, they are ring-style, meaning they cannot be moved once they are on the needle unless you pass them from one needle to the other. They are perfect for marking pattern repeats, but they aren’t the right choice if you need to mark a specific stitch in the middle of a row.
Clover Locking Stitch Markers: Best for Beginners
If you are just starting out, you need a marker that can do it all, and the Clover locking style is the industry standard for a reason. These look like tiny safety pins, which means you can insert them into a stitch to mark a specific row or count, and then take them out when you are finished.
Their biggest advantage is versatility. I often use them to mark my progress at the end of a long knitting session so I know exactly where I left off the next day. They are also essential for "lifelines"—placing a marker in your work to prevent a massive frogging disaster if you drop a stitch.
The tradeoff here is the hinge. Over time, the plastic clasp can become brittle or lose its "snap," especially if you are working with heavy, worsted-weight wool that puts tension on the marker. Always keep a few spares in your kit, as these have a tendency to vanish into the sofa cushions.
Katrinkles Wooden Row Counters: Best for Aesthetics

Knitting is as much about the tactile experience as it is about the finished object, and Katrinkles markers bring a touch of beauty to the process. These are often laser-cut from birch, providing a warm, organic feel that pairs perfectly with natural fibers like wool or alpaca.
Beyond their looks, these are functional tools for keeping track of rows in long, mindless projects like scarves or blankets. They usually feature a sliding ring or a numbered dial, which is far more reliable than trying to remember if you finished row 42 or 43.
Keep in mind that wooden tools can have a slightly rougher texture than polished plastic or metal. If you are working with delicate, high-twist silk or fine lace-weight mohair, be mindful of the edges. You don’t want a beautiful wooden marker to snag your precious yarn.
Knitter’s Pride Metal Markers: Best for Durability

When you are working with abrasive fibers like rustic highland wool or heavy cotton, plastic markers can snap or warp under the pressure. Knitter’s Pride metal markers are the workhorses of the knitting world, offering a slim profile that won’t interfere with your gauge.
Because they are made of metal, they are incredibly thin, which is a major benefit when you are knitting with small needles. If you are working on socks with 2.25mm needles, a thick plastic marker will distort your stitches and create unsightly ladders; these metal rings slide effortlessly.
The downside is that they are not magnetic, so you can’t easily store them on a magnetic board. They are also rigid, so they don’t have the "give" of a locking marker. Use these when you need a permanent, reliable place-marker that will survive years of heavy use.
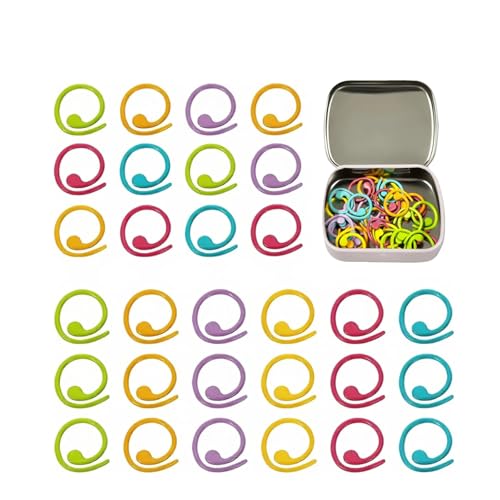
Susan Bates Split Ring Markers: Best Value Option

If you find yourself constantly losing markers, the Susan Bates split ring style is the most economical choice. They are essentially a simple coil of plastic that you can slip onto a needle or hook into a stitch, offering a "best of both worlds" approach to marking.
They are incredibly lightweight and flexible, making them ideal for long-term projects where you don’t want the marker to pull on the fabric. Because they are made of soft plastic, they are gentle on your fingers during long knitting marathons.
The main drawback is that they can occasionally snag on fuzzy fibers like mohair or angora. The "split" in the ring can catch a stray fiber, potentially pulling a loop out of place. If you are working with very hairy yarns, stick to smooth, closed-ring markers instead.
BeadSmith Jewelry Jump Rings: Best DIY Alternative

Sometimes the best tool isn’t found in a knitting shop at all. Jewelry jump rings are essentially metal circles used for connecting charms, but they make excellent, low-profile stitch markers for knitters who want something minimalist and inexpensive.
You can buy these in bulk in various sizes, allowing you to match the ring size to your needle diameter perfectly. A 6mm ring is perfect for worsted weight, while a 4mm ring works beautifully for fingering weight. They are virtually indestructible and won’t break like plastic.
The one thing to watch out for is the join. Some cheaper jump rings have a tiny gap where the wire meets; if this isn’t soldered shut, it will catch your yarn every single time. Always run your finger over the ring before using it to ensure it is perfectly smooth.
How to Choose the Best Marker for Your Yarn Weight
Choosing the right marker is about matching the scale of your tool to the scale of your yarn. If your marker is too large for your needle, it will pull your stitches apart; if it is too small, it will be impossible to slide over the needle tip without fighting it.
- Lace/Fingering Weight: Use thin metal rings or small, smooth plastic rings. Avoid anything with a clasp, as the bulk will distort the delicate fabric.
- Worsted/Aran Weight: You can use slightly larger plastic locking markers. The yarn is thick enough to hide the bulk of the clasp.
- Bulky/Super Bulky: Use large, open rings. Locking markers are often too small to fit comfortably around the thick needles required for these yarns.
Always test your marker by sliding it over the needle tip before you cast on. If you have to force it, you are going to be annoyed by the time you reach the end of the first row.
Why Locking Markers Are Essential for Row Tracking
Locking markers are the only way to track your progress when you aren’t working in the round. When you are knitting flat on straight needles, you have no "start of round" to guide you, which makes it very easy to lose your place in a complex cable or lace pattern.
I always recommend placing a locking marker every 10 or 20 rows. This creates a physical "checkpoint" in your knitting. If you realize you have made a mistake, you only have to rip back to the last marker rather than the very beginning of the project.
Don’t overcomplicate your system. One marker every 10 rows is usually enough to keep you on track without making your project look like a Christmas tree. The goal is to provide enough guidance to prevent errors, not to clutter your workspace.
Tips for Preventing Marker Snags in Delicate Lace
Lace knitting is a high-stakes game where one snag can ruin hours of work. When working with fine yarns, the biggest culprit for snags is the junction where the marker meets the needle. If your marker has any sharp edges or a protruding clasp, it will eventually catch a yarn ply.
I suggest using seamless rings whenever possible for lace. If you must use a locking marker, ensure it is made of smooth, high-quality plastic with no mold lines. You can even use a small loop of scrap yarn in a contrasting color as a "soft" marker—it will never snag, and it’s free.
If you do catch a snag, stop immediately. Do not pull. Gently wiggle the marker back and forth until the yarn releases. If you pull, you risk splitting the fiber, which will create a weak spot in your finished lace.
Frequently Asked Questions About Row Tracking Tools
Q: Do I really need a row counter, or can I just count the rows? A: You can count the rows, but you will eventually miscount. A tool provides an objective, external record that doesn’t rely on your tired brain at the end of a long day.
Q: Can I use paperclips as markers? A: In a pinch, yes, but be very careful. Most paperclips have sharp ends that can split your yarn or rust if they get wet during the blocking process. Only use them as a temporary measure.
Q: How many markers do I need? A: Start with a set of 20. You will inevitably lose a few under the couch, and having a variety of styles (rings vs. locking) will cover 99% of the patterns you will ever encounter.
The best marker is the one that disappears into your process, letting you focus entirely on the rhythm of your stitches. Whether you prefer the sleek durability of metal rings or the helpful utility of locking pins, these tools are your best defense against the frustration of lost counts. Invest in a few different types to see what feels right for your hands and your current project. Happy knitting, and may your row counts always be accurate.