7 Best Steaming Irons For Pressing Button Plackets
Achieve crisp button plackets with our top 7 steaming irons. We review precision tips and steam power to ensure your shirts look professionally pressed daily.
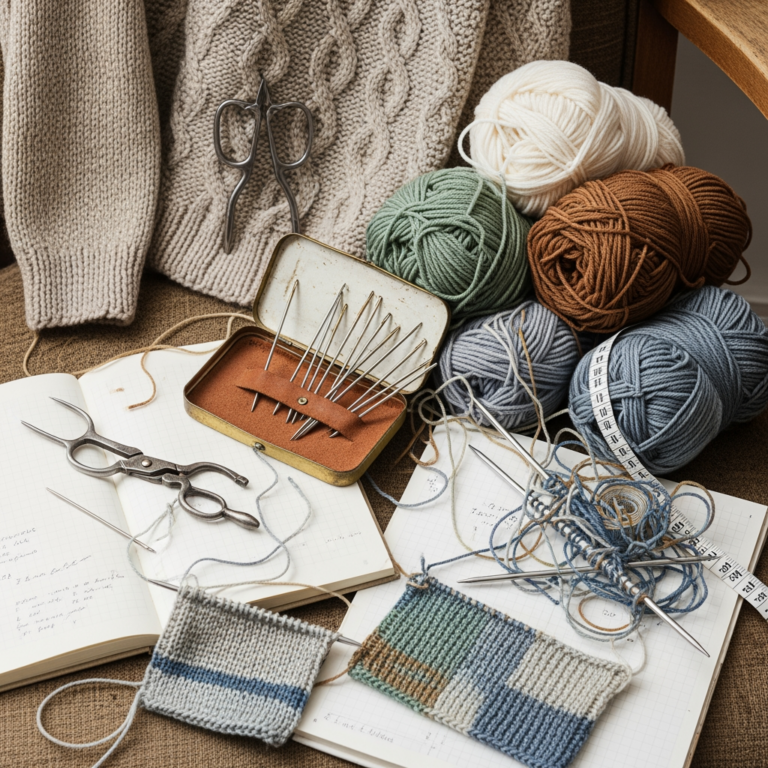
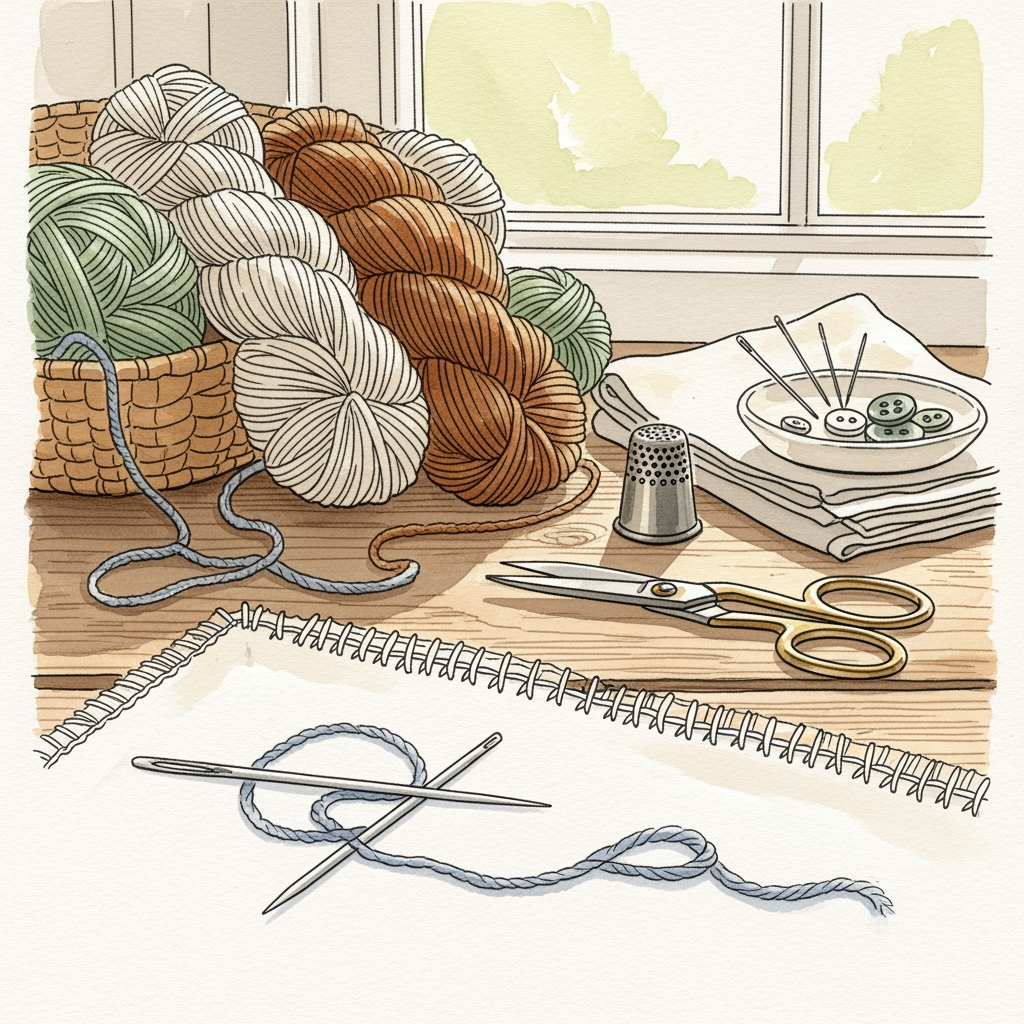
Achieving a crisp, professional button placket is the final hurdle between a handmade sweater looking like a craft project or a boutique garment. While many knitters fear the iron, the right steam tool can transform a wobbly, uneven band into a structured, store-quality edge. Selecting the right iron is about balancing heat, moisture, and maneuverability to respect the integrity of your stitches. Here are seven irons that will elevate your finishing game.
Rowenta Focus Excel: Best Overall for Plackets

The Rowenta Focus Excel is a workhorse that excels where most household irons fail: consistent, high-pressure steam distribution. When you are blocking a dense wool-blend cardigan, you need a tool that doesn’t sputter, as sudden water droplets can leave unsightly spots on sensitive fibers like alpaca or cashmere.
The precision tip is the real star here, allowing you to slide between buttons without snagging your yarn or distorting the stitch pattern. It provides enough weight to press the placket flat without requiring you to push down hard, which is vital for preventing the "crushed" look that ruins the loft of your yarn.
If you struggle with uneven placket edges, this iron’s steam output helps relax the fibers just enough to coax them into alignment. The bottom line: it is a reliable, high-performance tool that bridges the gap between domestic utility and professional tailoring.
Reliable Velocity 200IR: Top Steam Consistency

If your knitting projects involve heavy, natural fibers like worsted-weight Peruvian highland wool, you need the Reliable Velocity 200IR. This iron uses a unique internal steam chamber that vaporizes water before it hits the soleplate, ensuring you get dry, constant steam rather than messy, wet bursts.
For those long button bands on a heavy coat or a structured jacket, consistent steam is non-negotiable. If the steam fluctuates, you end up with uneven blocking, where one section of the placket is perfectly set and the next is still springy and unruly.
The trade-off is the bulk; this is a larger, more substantial iron that might feel heavy during long blocking sessions. However, for the knitter who values a perfectly uniform finish across large surface areas, the consistency it provides is unmatched.
Oliso M3Pro Project Iron: Best for Precision

The Oliso M3Pro is designed with the crafter in mind, featuring a unique "iTouch" technology that lifts the iron off the board when you let go of the handle. This is a game-changer for knitters who need to constantly shift their fabric to align a button band or check the tension of a seam.
Because it is smaller and lighter than a standard household iron, it is incredibly easy to maneuver into tight corners. If you are working on a delicate baby sweater with tiny, fiddly buttonholes, this iron allows for surgical precision that larger models simply cannot replicate.
Be aware that because of its smaller size, it holds less water and requires more frequent refills during large blocking projects. It is the ideal choice for the detail-oriented knitter who prioritizes control and safety over raw steam power.
Chi Retractable Iron: Best for Small Spaces

Many knitters work in shared spaces or small apartments where a full-sized ironing board and a massive iron aren’t practical. The Chi Retractable Iron offers a professional-grade ceramic soleplate that glides effortlessly over delicate hand-knits without catching on textured stitches or cabling.
The retractable cord is a brilliant feature for those who store their tools in craft bins or small closets. It keeps your workspace tidy, which is essential when you have needles, yarn scraps, and patterns scattered across your desk.
While it is compact, it still packs enough heat to handle most sweater weights. If you are a casual knitter who needs a high-quality tool that doesn’t dominate your storage space, this is your best bet.
Black+Decker D3030: Best Budget Steam Option
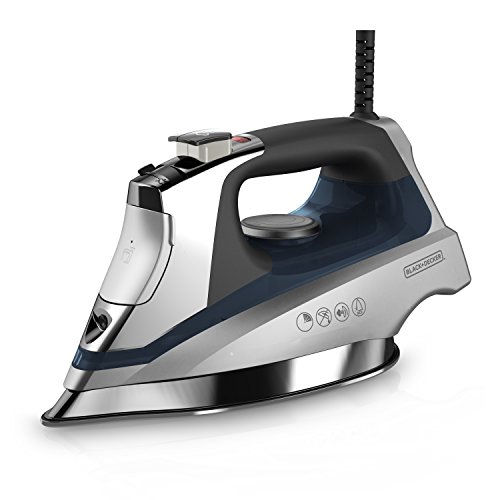
You don’t need to spend a fortune to get a professional finish on your button bands. The Black+Decker D3030 provides a surprisingly effective steam burst that is perfect for setting the edges of a standard acrylic or wool-blend sweater.
The soleplate is designed with a non-stick coating that prevents the iron from grabbing at your stitches. This is particularly important for newer knitters who might be nervous about "burning" their work; the heat distribution is gentle enough to be forgiving.
It lacks some of the advanced features of the high-end models, but it gets the job done reliably. If you are just starting to build your blocking toolkit, this iron offers the best value for your money.
Panasonic Cordless Iron: Best for Maneuverability
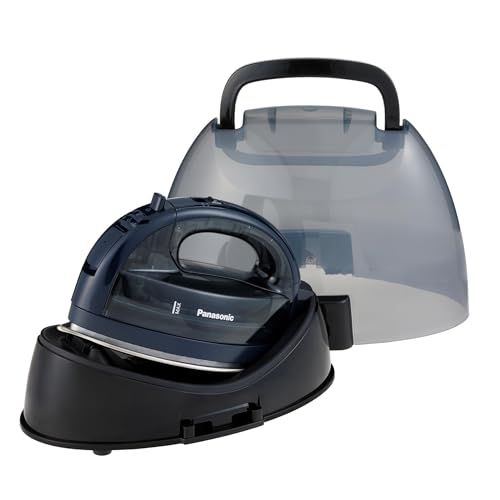
The Panasonic Cordless Iron is a dream for knitters who find the cord always gets in the way of their delicate blocking work. Without a tether, you can rotate your button band and approach the placket from any angle, which is essential for achieving a symmetrical look.
The iron rests on a charging base, keeping it hot and ready to go. It is light, fast, and incredibly intuitive to use, making the process of pressing a long placket feel much less like a chore.
The major trade-off is that you must return it to the base frequently to maintain heat. If you are the type of knitter who likes to press a long section in one continuous motion, this might feel like an interruption, but for short, precise presses, it is incredibly efficient.
Hamilton Beach Durathon: Best Durable Soleplate
The Hamilton Beach Durathon is built for longevity, featuring a soleplate that is significantly more scratch-resistant than standard models. When you are pressing over buttons—especially if they are metal or have sharp edges—a durable soleplate is a must to prevent nicks and scratches.
A scratched soleplate can snag delicate fibers like mohair or silk, potentially ruining hours of hard work. This iron is designed to withstand the wear and tear of frequent use, making it a solid investment for the prolific knitter.
It is a straightforward, no-nonsense tool that focuses on durability and consistent heat. It might not have the flashiest features, but it is a reliable workhorse that will last through dozens of sweater projects.
Why Steam Matters for Professional Placket Edges
Steam is the secret to "killing" the edge of your knitting, which is just a fancy way of saying you are relaxing the fibers into a set position. Without steam, your button bands will often curl or ripple, no matter how perfectly your tension was maintained while knitting.
When you apply steam, you are essentially allowing the yarn to expand and settle into the space created by your needle gauge. This is especially important for superwash wool, which can be quite "bouncy" and resistant to holding a flat shape without the help of heat and moisture.
- Relaxation: Steam allows the stitches to open up and even out.
- Structure: It gives a crisp edge that prevents the band from rolling.
- Uniformity: It hides minor tension inconsistencies that occur during the knitting process.
Essential Steam Settings for Delicate Wool Fibers
Not all wool is created equal, and your iron settings must reflect the fiber content of your project. For delicate fibers like alpaca, mohair, or angora, you should always use the lowest steam setting and keep the iron slightly hovering above the fabric rather than pressing directly down.
If you are working with a sturdy, untreated Highland wool, you can be a bit more aggressive with the steam. However, always remember that you are pressing, not ironing; do not slide the iron back and forth, as this will stretch your knitting and distort the stitch definition.
- Wool/Acrylic Blends: Medium heat, moderate steam.
- 100% Cotton: High heat, high steam (cotton needs the moisture to lose its memory).
- Luxury Fibers (Cashmere/Silk): Low heat, very light steam, never touch the fabric directly.
How to Press Button Bands Without Flattening Ribs
The biggest mistake knitters make is pressing the button band so hard that they flatten the stitch definition of the ribbing. To avoid this, use a thick pressing cloth or a spare piece of cotton fabric between the iron and your work.
When pressing a ribbed button band, focus on the "seam" where the band meets the body of the sweater rather than the center of the ribs. By steaming the seam, you encourage the band to lay flat against the garment without crushing the texture of the ribbing itself.
Finally, always let your project rest and cool completely before moving it. If you move a piece of knitting while it is still warm and damp from the steam, you risk stretching it out of shape and undoing all the hard work you just put into the blocking process.
Investing in a quality steam iron is one of the most impactful upgrades you can make for your finished knitwear. Whether you prioritize the precision of the Oliso or the raw consistency of the Reliable, the right tool will make your button plackets look like they came off a professional loom. Take your time, respect your fiber, and remember that steam is a tool to enhance your stitches, not to change them. Happy knitting, and may all your edges be perfectly crisp.