7 Best Sewing Pins For Seaming Knitted Pieces
Discover the 7 best sewing pins for seaming knitted pieces. Learn which materials and designs ensure secure, snag-free joining for all your fiber projects.
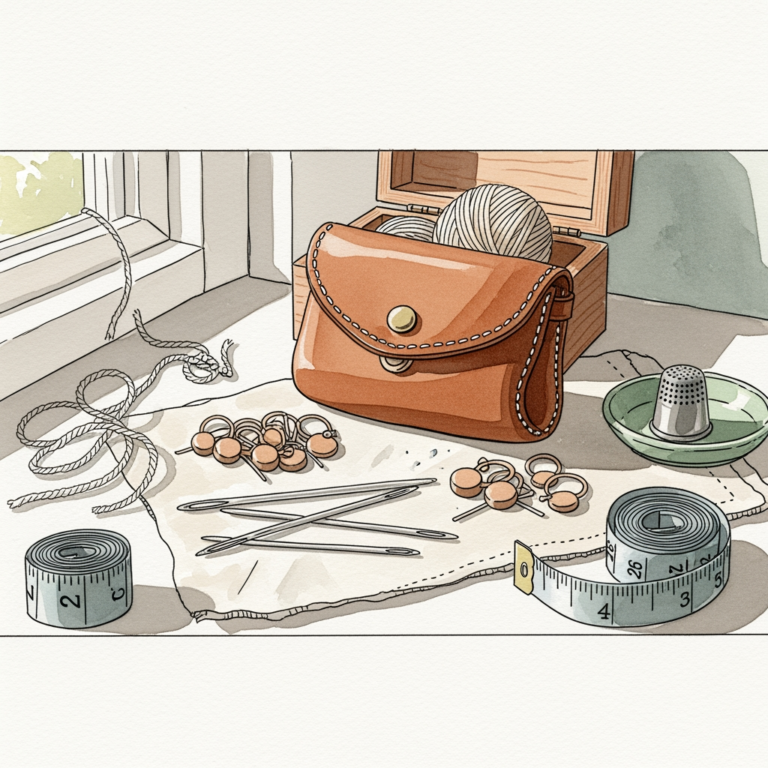
Achieving a professional finish on your hand-knits depends almost entirely on how you prepare your pieces before the needle ever touches the yarn. Many knitters rush the seaming process, only to end up with puckered edges or misaligned patterns that ruin hours of careful work. Using the right pins acts as a temporary framework, holding your fabric in the exact position required for a seamless join. This guide explores the best tools to ensure your hard work looks as polished as a store-bought garment.
Clover Patchwork Pins: Best for Precision Seaming
These ultra-fine, sharp pins are a staple in my notions kit for a reason. Because they are so thin, they slip between the plies of your yarn without splitting the fibers, which is crucial when working with delicate hand-dyed wools.
Precision is the name of the game here. When you are matching up stripes or intricate cable motifs, you need a pin that doesn’t distort the fabric as it enters. These pins provide that stability without adding bulk to the seam line.
The trade-off is their length; they are shorter than standard quilting pins. If you are working with a very thick, chunky weight sweater, you might find they don’t have enough "reach" to secure multiple layers firmly.
Dritz Extra-Long Quilting Pins: Best for Bulk
When you are seaming a heavy-gauge fisherman’s sweater, short pins simply won’t cut it. These extra-long pins allow you to capture multiple stitches across a deep seam allowance, keeping the heavy fabric from shifting while you work.
The extra length acts like a temporary basting stitch, locking the heavy weight of the fabric in place. This prevents the "creeping" effect that often happens when you have two heavy pieces of wool sliding against each other.
Be careful, however, with the thickness of these pins. Because they are designed for quilting, they are slightly stouter than fine sewing pins and can occasionally snag a strand of delicate mohair or high-twist merino.
Bohin Glass Head Pins: Best for Delicate Knits

I always reach for these when I am working with luxury fibers like silk, alpaca, or cashmere. The glass heads are heat-resistant, meaning you can safely steam-block your seams while the pins are still in place without worrying about melting plastic.
The steel shafts are exceptionally smooth and polished, which minimizes friction as they slide through your knitted fabric. This is vital for high-twist yarns that tend to "catch" on rougher metal surfaces.
While they are a higher price point, the durability of the glass head means they won’t snap off or discolor over time. They are an investment in your long-term fiber arts practice.
Singer T-Pins: Best for Heavy Wool Assemblies

T-Pins are the workhorses of the knitting world, especially when it comes to blocking and structural assembly. The T-shaped head provides a fantastic grip, making them easy to manipulate even if your hands get tired during a long seaming session.
Because they are essentially heavy-gauge wire, they are virtually indestructible. I use these primarily for pinning the heavy body panels of a sweater to a blocking board before I even pick up my tapestry needle.
They are far too thick for fine-gauge lace or delicate fingering-weight projects. Use them for your hearty, worsted-weight wools and structural seams where you need maximum hold and zero movement.
Collins Ball Point Pins: Best for Knit Fabrics

Many knitters don’t realize that standard sharp pins can actually cut the fibers of your knit fabric, leading to small holes or runs. Ball point pins are specifically engineered with a rounded tip that pushes the fibers aside rather than piercing them.
This is a lifesaver when working with superwash wools or synthetic blends that lack the natural "grip" of untreated wool. The ball point prevents the pin from snagging the yarn structure, which is a common frustration with cheaper, sharper alternatives.
Keep in mind that these are designed for specific fabric types. If you are working with a very dense, tightly felted piece, the blunt tip might struggle to penetrate the fabric easily.
Dritz Flower Head Pins: Best for Easy Handling
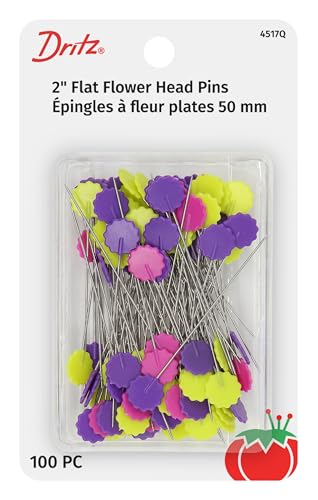
If you struggle with hand fatigue or dexterity issues, the flat, flower-shaped heads on these pins are a game changer. They are incredibly easy to pick up, manipulate, and see against the background of your knitting.
The flat head also lies perfectly flush against the fabric. This means you can lay your work flat on a table without the pins getting in the way or causing the fabric to lift and distort.
They are not as long as quilting pins, so they work best for medium-weight projects. They are my top recommendation for beginners who are still learning how to handle multiple tools at once without dropping them.
Tulip Hiroshima Quilt Pins: Best for Fine Gauge
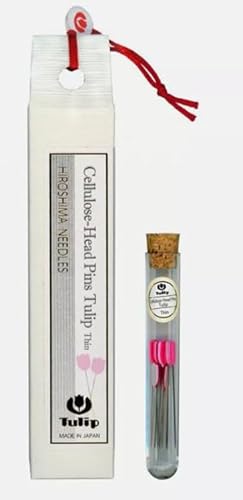
These Japanese-made pins are the gold standard for quality. They are incredibly sharp and have a slight flexibility that prevents them from bending permanently when they hit a tough spot in the fabric.
When you are working with lace weight or fine fingering weight yarn, you need a pin that is almost needle-thin. These pins glide into the tightest stitch patterns without leaving a trace or distorting the gauge of your work.
They are expensive, but they are a joy to use. Treat these as your "special occasion" tools—use them for your most precious heirloom projects where precision is non-negotiable.
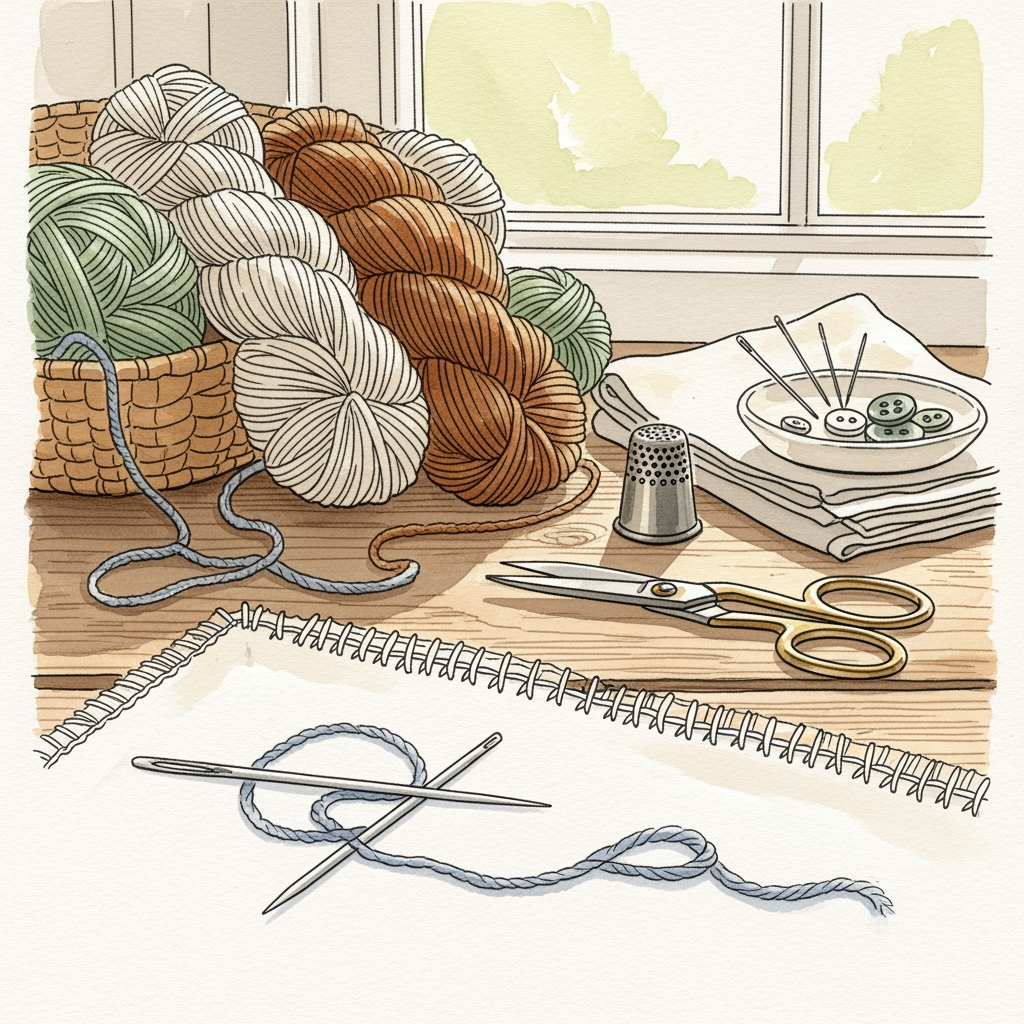
How to Pin Knitted Pieces for Smooth Seaming
- Lay pieces flat: Always place your knitted panels on a flat, padded surface before pinning.
- Align the edges: Use a measuring tape to ensure your edges are perfectly aligned, especially when working with side seams.
- Pin perpendicular: Place your pins at a 90-degree angle to the seam line so they don’t interfere with your sewing needle.
- Check the tension: Ensure you aren’t pulling the fabric too taut; the pins should hold the fabric in its relaxed, natural state.
Essential Tips for Securing Your Seam Edges
The most common mistake is pinning too far away from the edge. You want your pins to be close enough to the seam line that the fabric doesn’t shift, but far enough away that they don’t snag your tapestry needle.
Always pin from the right side of the fabric if you are doing an invisible seam, like a mattress stitch. This allows you to check that your pattern repeats, such as stripes or cables, are lining up perfectly.
Don’t be afraid to use more pins than you think you need. A "pin-heavy" approach in the beginning saves you from having to rip out a crooked seam later.
Why Pinning Matters Before You Start Sewing
Pinning is the structural foundation of your finished garment. Without pins, the natural elasticity of knitted fabric will cause your pieces to shift, resulting in a seam that is wavy, twisted, or uneven.
By pinning, you are essentially "basting" the fabric in place, allowing you to focus entirely on the rhythm of your sewing stitch. It turns a stressful, guessing-game process into a controlled, meditative experience.
Ultimately, pinning is what separates a homemade project from a professional-looking piece. It forces you to slow down and respect the architecture of your stitches, ensuring that your hard work results in a garment that fits and drapes exactly as intended.
Taking the extra time to pin your knitted pieces is the hallmark of a confident, experienced maker. Whether you choose ultra-fine pins for delicate lace or heavy-duty T-pins for chunky wools, the right tool makes the entire assembly process more enjoyable. Remember that the goal is to stabilize your fabric without distorting the beautiful stitches you spent weeks creating. With these tools in your kit, you are well on your way to achieving seams that are as sturdy and beautiful as the knitting itself.