7 Best Decorative Trims For Edge Finishing To Try
Elevate your sewing projects with these 7 decorative trims. From classic piping to chic lace, discover the best finishes to add professional flair and detail.
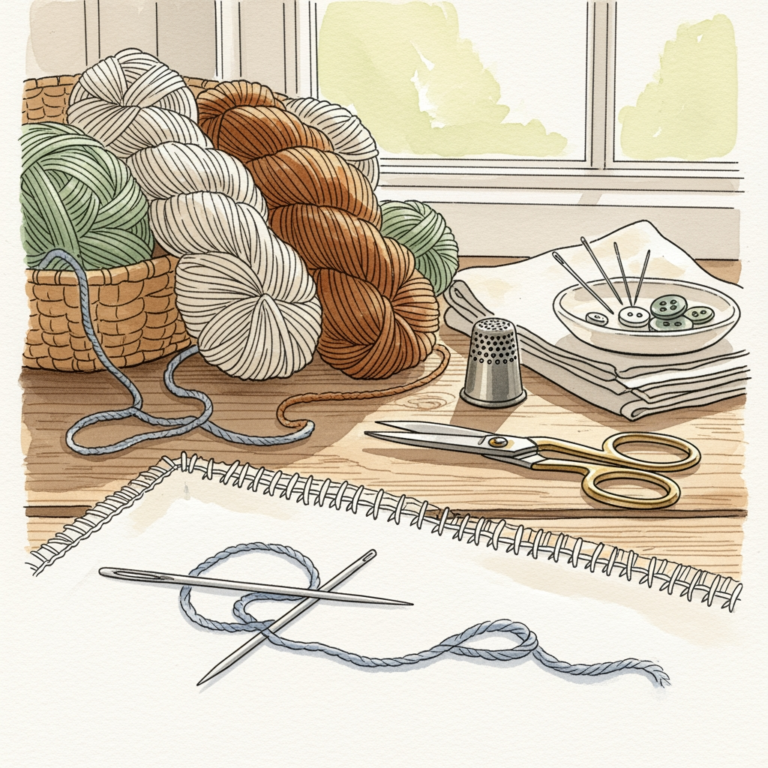
The final inches of a project are often where a piece transforms from a simple swatch of fabric into a professional-grade garment. Choosing the right decorative trim is about more than just aesthetics; it is about providing structural integrity and a clean visual frame. Whether you are finishing a delicate shawl or a heavy-duty sweater, the edge determines how the piece sits against your body. Let’s explore the finishing techniques that will elevate your knitting from handmade to heirloom.
The Classic I-Cord Edging for Polished Borders
An I-cord edging is the gold standard for a clean, rounded finish that mimics the look of a professionally manufactured garment. It creates a tubular border that is incredibly stable and resistant to curling, making it perfect for the front bands of cardigans or the necklines of pullovers.
Because this edging is worked by knitting a few stitches across the live edge, it effectively "hides" the transition between your main fabric and the border. It’s a great way to clean up a messy edge if your picking-up-stitches technique isn’t quite perfected yet.
However, keep in mind that an I-cord edge is inherently thicker than the rest of your knitting. If you are working with a bulky yarn, this can create a heavy, stiff border that might not drape as expected.
Picot Bind-Offs for a Delicate Decorative Edge
If you want to add a touch of whimsy to a shawl or the hem of a summer top, the picot bind-off is your best friend. It creates a series of small, decorative "bumps" or points along the edge by binding off stitches and casting on new ones in a rhythmic pattern.
This technique is stunning in lace-weight mohair or silk blends, where the lightness of the yarn allows the picots to stand up and hold their shape. It adds a feminine, airy quality that frames a project beautifully.
The trade-off here is time and tension. You must be consistent with your tension when casting on the extra stitches, or the picots will look uneven and lopsided. It’s a labor-intensive process, so save this for projects where the edge is the star of the show.
Adding a Crochet Crab Stitch for Sturdy Finish
The crab stitch, or reverse single crochet, is a secret weapon for knitters who want a dense, cord-like edge that won’t stretch out over time. Working this stitch from left to right creates a twisted, ropey texture that is incredibly durable.
It is particularly useful for the cuffs of mittens or the bottom of a sweater that sees a lot of wear and tear. Because it is a crochet technique, it creates a much tighter gauge than your knitting, which helps to "lock" the edge of the fabric.
Don’t be intimidated if you aren’t a crochet expert; the crab stitch is essentially one simple motion repeated. Just ensure you use a crochet hook that is roughly the same size as your knitting needles to maintain a balanced look.
The Decorative Ruffle Edge for Playful Texture
Ruffles are the ultimate way to add movement and volume to a hemline. By increasing stitches significantly along the final row, you create a dramatic, wavy effect that catches the light and adds a playful element to scarves or skirt hems.
This technique works best with fibers that have a bit of "memory" or bounce, like wool or merino. If you use a heavy, inelastic fiber like cotton, the ruffle may end up looking limp rather than bouncy.
Be aware that a ruffled edge adds a significant amount of weight to the bottom of a garment. If your piece is already long, the extra yarn usage and weight might cause the hem to sag or pull on the rest of the fabric.
Using Applied Lace Edgings for Heirloom Pieces
Applied lace is a technique where you knit a separate lace border and attach it to your project as you go. This is how many traditional heirloom shawls are finished, resulting in a complex, intricate perimeter that would be impossible to knit as part of the main body.
This is a high-skill technique that requires patience and careful counting. You are essentially knitting a miniature project onto the edge of your main one, which can be daunting for beginners.
The reward, however, is unmatched. It allows you to mix textures and patterns, such as a simple stockinette body paired with a highly ornate, scalloped lace border. It is a true test of a knitter’s discipline and attention to detail.
The Simple Twisted Fringe for Bohemian Flair
Fringe is the fastest way to add length and drama to a piece without adding a single row of actual knitting. By cutting lengths of yarn and knotting them through the edge stitches, you create a bohemian, relaxed aesthetic.
The key to a professional-looking fringe is consistent length and careful trimming. Use a piece of cardboard as a template to wrap your yarn around before cutting, ensuring every strand is identical.
Be mindful of the fiber choice here; superwash wool or acrylic can stretch significantly under the weight of a long fringe. Over time, that weight can pull your fabric out of shape, so consider the structural integrity of your main piece before committing to a heavy fringe.
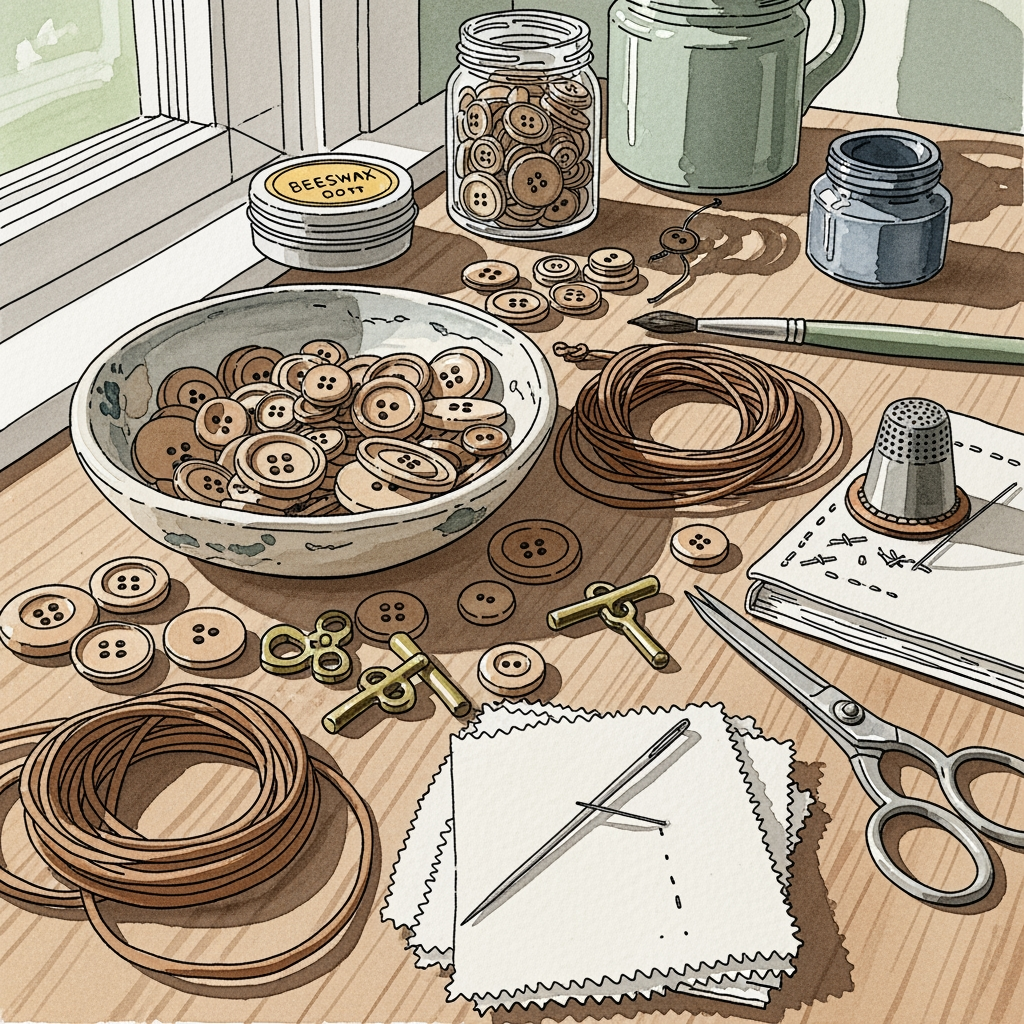
Incorporating Bead Edging for Added Elegance
Beads can be incorporated into an edge in several ways, either by pre-stringing them onto your yarn or by slipping them onto stitches as you knit. They add weight, shimmer, and a touch of luxury to evening wear or delicate accessories.
When choosing beads, consider the weight of your yarn. Using heavy glass beads on a fine lace-weight yarn will cause the edge to droop unattractively. Always test a small swatch with your chosen beads to see how they affect the drape.
Also, remember that beaded edges are not machine washable. If you are adding beads, you are committing to hand-washing the item for its entire lifespan to prevent the beads from snagging or breaking.
How to Select Trims Based on Your Yarn Weight
The golden rule of edgings is that the trim must respect the weight of the main fabric. A bulky, heavy fringe on a lace-weight shawl will pull the fabric apart, while a tiny picot edge on a super-bulky sweater will disappear entirely.
- Lace/Fingering: Opt for delicate picots, applied lace, or tiny beads.
- Sport/DK: I-cords and subtle ruffles work well with these mid-weight yarns.
- Worsted/Bulky: Go for sturdy finishes like the crab stitch or a thick, braided fringe.
If you are unsure, knit a small swatch of your main fabric and apply the trim to it first. Watch how the edge interacts with the fabric over 24 hours; if it causes puckering or excessive sagging, it is time to pivot to a different technique.
Essential Tools for Attaching Decorative Edges
Beyond your standard needles, you will need a few specific tools to make finishing easier. A blunt-tipped tapestry needle is non-negotiable for weaving in ends, and a good crochet hook is essential for picking up stitches or working crochet-based edges.
If you are working with beads, a "bead spinner" or a very fine dental floss threader can save you hours of frustration. For fringe, a sharp pair of fabric scissors is vital; dull scissors will fray the yarn ends, making the fringe look messy from day one.
Finally, keep a set of locking stitch markers nearby. When picking up stitches for an edge, use markers to divide your work into equal sections; this ensures your stitch count remains even across the entire perimeter.
Tips for Maintaining Your Finished Edge Detail
The secret to a long-lasting edge is proper blocking. Once your trim is complete, soak the garment and pin it out carefully, paying special attention to the edges. For picots or lace, use rust-proof T-pins to stretch the points into shape while they dry.
If you have added fringe or beads, avoid aggressive wringing or twisting. Simply press the water out with a towel and lay the piece flat to dry, ensuring the fringe is combed straight and the beads are not bunched up.
Lastly, store your finished pieces carefully. Fold them instead of hanging them, as the weight of the garment can distort the edges over time, especially if you have added heavy decorative elements like beads or thick fringe.
Decorative edges are the final signature on your knitting work, reflecting your personal style and attention to detail. By selecting a trim that complements your yarn weight and fiber characteristics, you ensure that your hard work remains beautiful for years to come. Do not be afraid to experiment with these techniques on small swatches before committing to a full garment. With the right tools and a little patience, your edges will become the most celebrated part of your knitwear.