6 Best Felting Needles For Loom Project Repairs
Restore your loom projects with precision. We review the 6 best felting needles to help you mend fibers seamlessly and achieve professional, durable results.
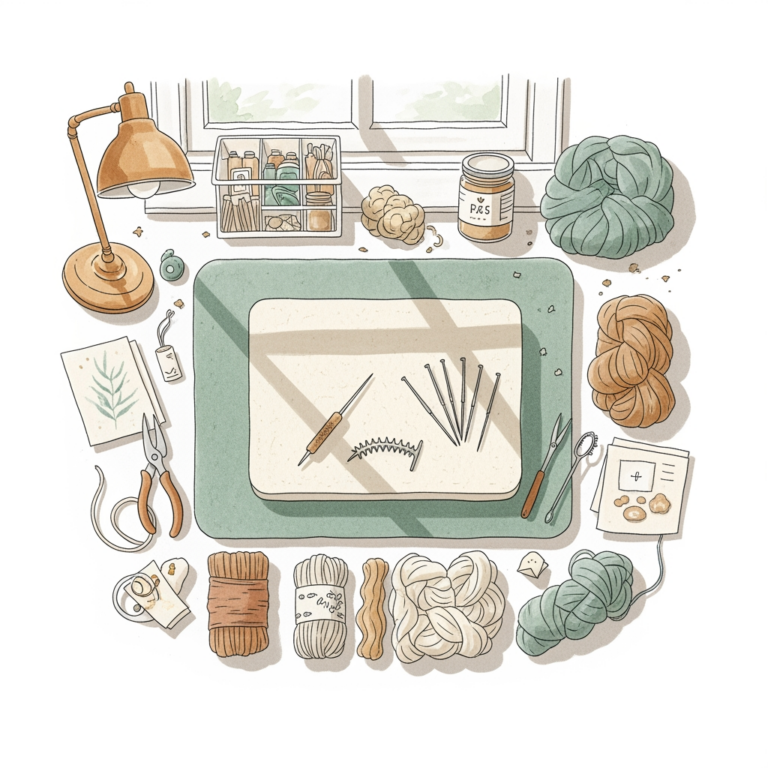
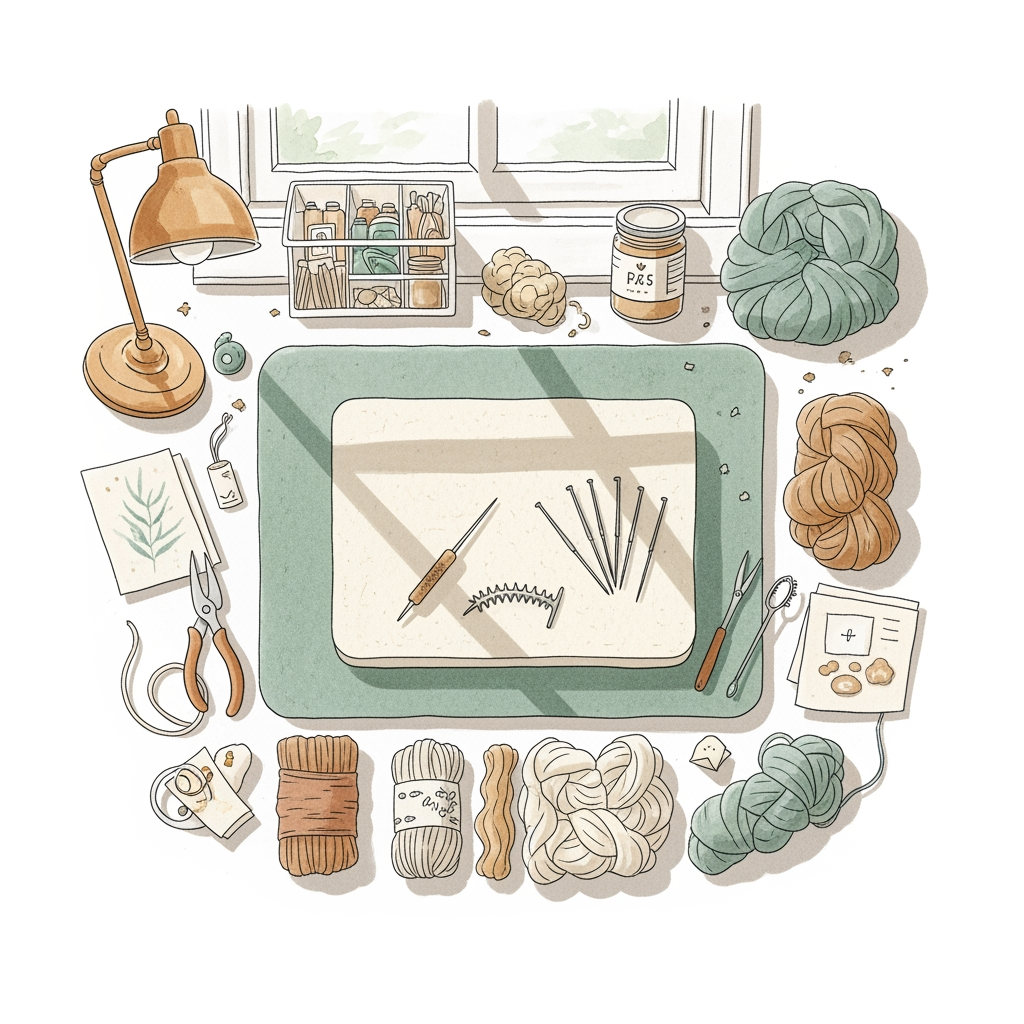
When a stray thread pops on a hand-loomed tapestry or a snag compromises your favorite woven textile, the panic is real. Needle felting offers a near-invisible way to lock fibers back into place without the bulk of traditional darning. Choosing the right tool for these delicate structural repairs is the difference between a seamless fix and a permanent mark. Here are the top needle options to keep in your restoration kit.
Clover Pen Style Needle Felting Tool: Best Overall

This tool is a staple in my studio because it mimics the ergonomics of a standard pen, making it incredibly intuitive to hold during long repair sessions. The retractable feature is a huge plus, as it protects both your tabletop and your hands when you set the tool down to adjust your loom work.
For repairs on woven projects, the ability to swap out the needles is essential. You aren’t locked into one gauge, which means you can switch from a fine finish to a slightly coarser punch depending on the weight of your warp and weft.
The bottom line: It is the most versatile choice for makers who want a professional-grade repair tool that feels natural in the hand. If you’re working on a large-scale wall hanging, the comfort of this grip will save your wrists from fatigue.
Ashford Felting Needle Assortment: Best for Variety

If you aren’t sure exactly which gauge your specific fiber blend needs, an assortment pack is your best insurance policy. Ashford provides a range of needles that allow you to test how different barbs interact with your specific yarn, whether it’s a slick merino or a grippy wool-alpaca blend.
I often recommend this to knitters who work with a wide variety of fiber weights. You might need a coarse needle to anchor a thick, hand-spun repair, but a fine needle to blend the surface so the fix disappears into the weave.
The trade-off here is that you’ll have to learn to identify the needles by sight or keep them organized in their original packaging. Invest in a small labeling system, as mixing up a coarse "heavy duty" needle with a delicate "finishing" needle can accidentally shred your project.
Hamanaka Felt Needle Regular: Best for Precision

Hamanaka needles are known for their exceptional steel quality and precise barb placement. When you are working on a tight, dense loom project, you don’t want a needle that drags or tears the surrounding warp threads.
These needles penetrate smoothly and leave a very small entry hole, which is critical when you are repairing a high-density weave. They are particularly effective for "surface grafting," where you are essentially coaxing loose fibers back into the structure of the cloth.
If you are working on heirloom-quality pieces, the precision of these needles is worth the investment. They are less prone to snapping, which gives you the confidence to work in tight, awkward corners of your loom setup.
Groz-Beckert 38 Gauge Star Needles: Best for Detail

Star needles feature four sides of barbs rather than the traditional three, which allows for faster fiber entanglement. This makes them incredibly efficient for small, targeted repairs where you want the fibers to lock together with minimal movement.
Because they are a 38 gauge—a mid-range size—they strike the perfect balance between strength and subtlety. I find these are the "goldilocks" needles for repairing small snags where a few stray loops have pulled out of the fabric.
Be warned: because they are so efficient, they can felt fibers too aggressively if you aren’t careful. Use short, light pulses rather than deep, heavy jabs to ensure you don’t over-felt the repair site into a hard, dense knot.
Dimensions Needle Felting Tool: Best for Beginners
This tool is straightforward, affordable, and widely available at most craft retailers. It’s a great starting point for someone who has never touched a felting needle and is intimidated by the technical jargon of gauges and barb counts.
The handle is sturdy and provides a good grip, which is helpful if you are still developing the muscle memory for consistent, vertical needle entry. It’s a "no-frills" tool that gets the job done without requiring a deep dive into technical specifications.
Keep in mind that as your skills grow, you may eventually want to upgrade to a tool with interchangeable needles. However, for occasional loom repairs and small touch-ups, this tool will serve you perfectly well for years.
Schacht Spindle Company Felting Needles: Best Value

Schacht is a name synonymous with quality weaving equipment, and their felting needles are designed with the weaver in mind. They provide a reliable, no-nonsense experience that feels perfectly at home next to a loom or a spinning wheel.
These needles are excellent for bulk repairs, such as fixing a long, snagged thread in a rug or a heavy blanket. They are durable, inexpensive, and designed to withstand the repetitive motion of dense fiber manipulation.
If you are a high-volume maker, buying these in packs is the most economical way to keep your kit stocked. Always keep a few spares on hand; even the best felting needles will eventually dull or snap when working with heavy-duty fibers.
Understanding Needle Gauges and Fiber Penetration

Needle gauge refers to the thickness of the shaft; the higher the number, the thinner the needle. A 40-gauge needle is very fine and ideal for delicate surface work, while a 32-gauge needle is quite coarse and meant for heavy, structural repairs.
When repairing a loom project, you must match the needle to the fiber weight. Using a coarse needle on a fine silk or thin wool warp will leave large, visible holes that weaken the structure of the cloth.
- 32-36 Gauge: Use for heavy-duty, structural repairs on rugs or thick blankets.
- 38 Gauge: The "all-purpose" choice for most medium-weight yarns.
- 40-42 Gauge: Use for fine-tuning, surface blending, and delicate fiber repairs.
Essential Techniques for Seamless Repair Blending
The secret to a seamless repair is "under-felting" rather than over-felting. You want to gently encourage the loose fibers to integrate with the surrounding weave without creating a dense, felted lump that stands out from the rest of the fabric.
Always work from the backside of the fabric whenever possible. By pushing the loose fibers through to the reverse side, you can anchor them into the structure of the weave while keeping the front surface looking pristine and undisturbed.
Use a "stippling" motion, moving the needle in and out of the fabric in a straight line. Avoid twisting or bending the needle while it is inside the fabric, as this is the primary cause of needle breakage.
Safety Protocols for Handling Sharp Felting Tools
Felting needles are essentially tiny, barbed bayonets that are sharp enough to penetrate skin instantly. Always maintain a clear, well-lit workspace and keep your fingers well away from the path of the needle.
If you are working on a small piece, use a foam felting mat or a piece of high-density upholstery foam underneath the repair site. This provides a safe landing zone for the needle and prevents it from hitting your lap or tabletop.
Never force the needle if you feel resistance. If the needle won’t penetrate, it’s usually because you’ve hit a dense part of the weave or the wrong gauge; stop, reposition, and try again with a lighter touch.
Troubleshooting Common Felting and Repair Issues
If your needle keeps snapping, you are likely using too much force or hitting a knot in the yarn. Slow down your rhythm and ensure you are entering the fabric at a perfect 90-degree angle; any lateral pressure will snap the needle shaft immediately.
If the repair site looks "fuzzy" or pilled, you are likely over-felting or using a needle that is too coarse for the fiber. Try switching to a finer gauge and use shorter, more controlled strokes to smooth the fibers back into alignment.
Remember that not all fibers felt well. Superwash wool, for example, is treated to resist felting, so it will be much harder to repair using these methods. In those cases, you may need to use a needle and thread to manually secure the ends before using the felting needle to hide the tail.
Repairing a loom project is a meditative process that extends the life of your hard work. By selecting the right needle gauge and practicing a light, controlled touch, you can make your repairs virtually invisible. Take your time, test your tools on scrap fiber first, and enjoy the satisfaction of restoring your woven pieces to their original beauty.