6 Best Row Markers For Complex Chart Navigation
Navigate complex data with ease. This guide reviews the 6 best row markers to enhance your chart readability, improve tracking, and streamline data analysis.
Navigating a complex knitting chart requires more than just focus; it demands a reliable system to track your progress through intricate lace or stranded colorwork. When you are deep into a 40-row repeat, losing your place can turn a meditative hobby into a frustrating unraveling session. The right row markers act as your constant companions, ensuring every yarn-over and cable aligns perfectly with the pattern. Here are the tools that will help you maintain your rhythm and keep your project on track.
Cocoknits Colorful Nylon Stitch Markers
These nylon rings are the gold standard for many knitters because they are incredibly lightweight and flexible. Because they are made of soft nylon, they won’t snag on delicate fibers like mohair or single-ply wool.
The vibrant colors are their biggest asset when working with multi-colored charts. You can assign specific colors to different sections of a pattern—for instance, using red for your border and blue for your lace repeats.
Because they are seamless, they glide over your needle tips without catching. If you are a fast knitter who works with slick metal needles, these markers will not slow down your momentum.
Clover Locking Stitch Markers for Lace

When you need to mark a specific row or a point in a complex chart, a locking marker is essential. These act like tiny safety pins, allowing you to attach them directly to the fabric rather than just sitting on your needle.
They are particularly useful for "tink-back" prevention. If you need to stop mid-row, locking a marker into the stitch you just completed ensures you won’t lose your spot when you pick the project back up later.
Be aware that the plastic can sometimes catch on very fuzzy yarns, like brushed alpaca. If you find them snagging, check that the clasp is fully snapped shut to prevent the yarn from sliding into the hinge.
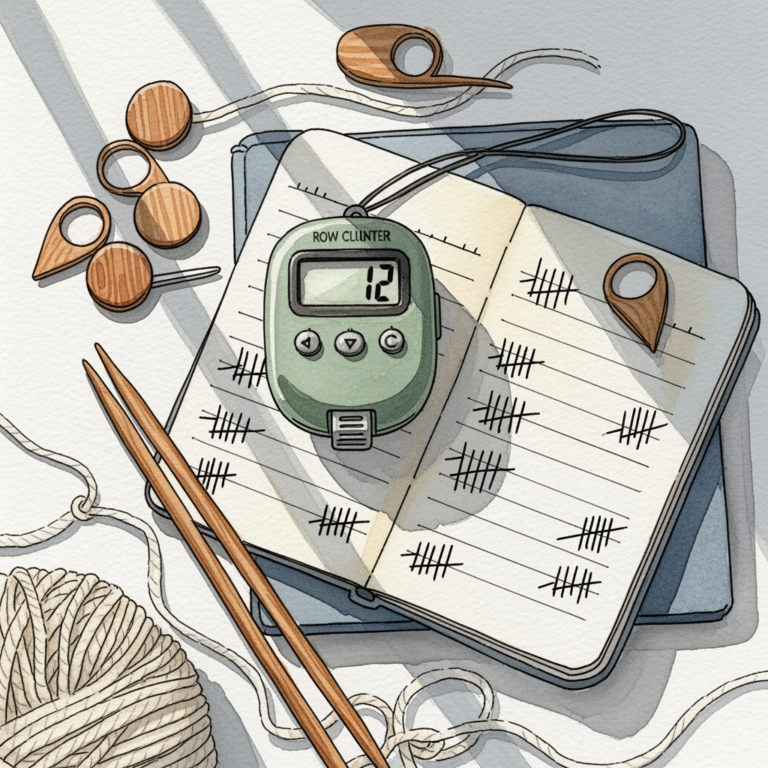
Katrinkles Wooden Row Counter Tags
Sometimes, you need to track more than just a stitch position; you need to keep a physical tally of your rows. These wooden tags are elegant, tactile, and provide a visual anchor for your progress.
They are best used in conjunction with a project bag or hung directly from your knitting needle if you prefer a dangle-style marker. They add a bit of weight, which can be helpful if you are working with very lightweight, slippery lace yarns.
Since they are made of wood, they have a natural "grip" that plastic lacks. This makes them less likely to slide around unintentionally, though they may not be ideal for extremely tight gauge projects where extra bulk is a hindrance.
Knitter’s Pride Rainbow Ring Markers

These metal rings are durable, sleek, and come in a variety of sizes to fit different needle diameters. Metal markers are excellent because they are thin and don’t take up "real estate" on your needle, which is vital when you are working with a tight gauge.
The rainbow finish is more than just aesthetic; it allows you to easily identify different markers if you are using multiple sizes in one project. They are sturdy enough to handle the tension of heavy wool or cotton yarns without bending.
One tradeoff is that they can be slightly noisy if you are a "clack-y" knitter using metal needles. However, their durability is unmatched, and they won’t degrade or stretch out like plastic or rubber alternatives over time.
Dritz Assorted Safety Pin Style Markers

These are the utility players of the knitting world. Because they are shaped like traditional safety pins, they are inexpensive and widely available, making them perfect for marking large, repeating sections of a chart.
They are particularly effective for long-term projects where you might need to leave a marker in place for weeks or months. Because they are made of metal, they won’t snap or lose their tension like cheaper plastic locking markers.
However, be mindful of the "point" on these pins. On very delicate, high-twist silk or fine lace-weight yarns, the sharp end can occasionally pierce a strand of yarn if you aren’t careful when inserting them.
Susan Bates Split Ring Stitch Markers

Split ring markers are designed to be slipped on and off the needle with ease. They are the perfect middle ground between a closed ring and a locking pin, offering speed without the bulk of a hinge.
They are excellent for knitters who frequently switch between different needle sizes. Because they are slightly flexible, they can accommodate a range of needle diameters without needing to be replaced.
If you are working with very "bouncy" or "springy" wool, these markers can occasionally pop off the needle if they get pushed too far toward the tip. Keep them positioned in the center of your needle to ensure they stay exactly where you need them.
Why Row Markers Are Essential for Charts
Charts represent the fabric as it looks from the right side, but the reality of knitting often involves turning and working back. Markers act as the "scaffolding" that keeps your brain aligned with the visual representation on the paper.
Without markers, you are forced to count stitches repeatedly, which increases the likelihood of human error. A marker placed every 10 or 20 stitches acts as a checkpoint, allowing you to verify your count quickly.
When you reach a marker, you are forced to pause and acknowledge the pattern transition. This simple habit prevents the "autopilot" mode that often leads to missing a yarn-over or miscounting a cable crossing.
How to Choose Markers for Complex Patterns
Choosing the right marker depends heavily on the project’s fiber content and your personal tension. If you are knitting with a high-twist, sticky wool, you want a smooth, seamless marker that won’t snag.
Conversely, if you are working with a slippery bamboo or silk yarn, a slightly textured or rubberized marker can prevent the tool from sliding off your needles. Always consider the "weight" of the marker relative to your yarn.
- For Lace: Use lightweight, snag-free nylon or thin metal rings.
- For Colorwork: Use high-contrast colors to distinguish between different motifs.
- For Cables: Use locking markers to secure the cable cross row so you can identify it later.
Tips for Preventing Marker Snagging Issues
Snagging usually occurs at the junction where the marker meets the needle, or at the hinge of a locking marker. To minimize this, always ensure your needle tips are not overly sharp if you are using delicate, loosely plied yarns.
If you notice a marker catching, check the join between your needle cable and the needle tip. Often, the marker isn’t the problem; it’s a tiny gap at the join that catches the yarn and the marker simultaneously.
When using locking markers, always close the clasp away from the direction of your knitting. This ensures that as you move the needle, the yarn flows smoothly over the smooth side of the marker rather than the hinge.
Troubleshooting Lost Row Marker Sequences
If you realize you’ve lost your place in a chart, don’t panic or immediately rip out your work. First, count your stitches to see if they match the required total for that row.
If the stitch count is correct but you are lost in the pattern, look for the "landmark" stitches. Cables, lace eyelets, and color changes are all visual markers that can help you re-orient yourself without needing the physical marker.
If you find yourself frequently losing your place, consider using a "lifeline"—a piece of scrap yarn threaded through your stitches. This allows you to rip back to a specific, secure row without losing your entire project.
Mastering your chart navigation is a journey of finding the tools that complement your unique knitting style. Whether you prefer the tactile nature of wooden tags or the sleek efficiency of metal rings, the best marker is the one that allows you to focus on the rhythm of your stitches. Experiment with these options, observe how they interact with your specific yarns, and you will find your confidence in complex patterns growing with every row. Happy knitting, and may your stitch counts always be correct.