6 Best Tailor Chalks For Marking Closure Positions
Precision is key in sewing. Discover the six best tailor chalks for marking closures accurately, ensuring professional, clean results for every garment project.
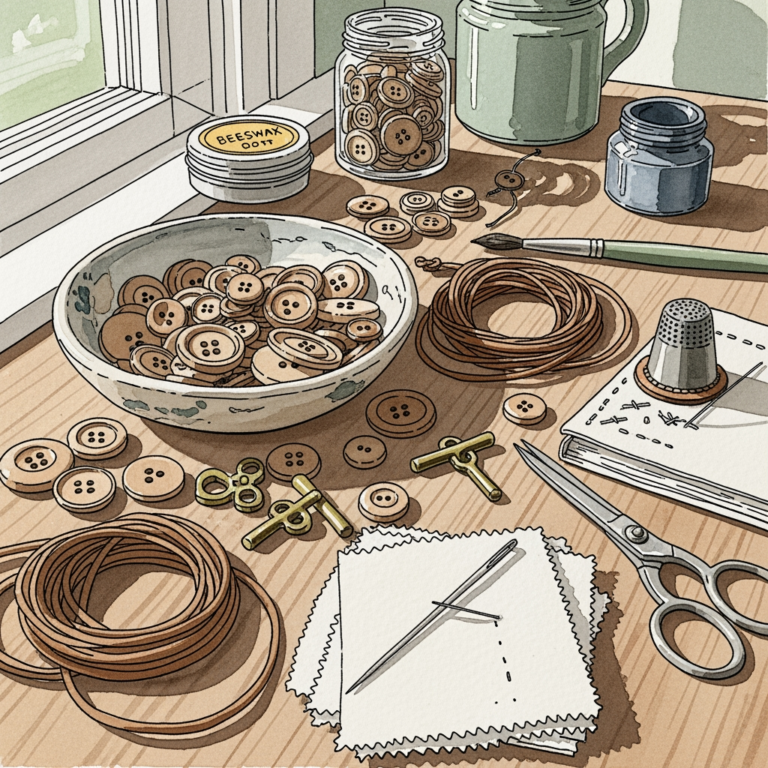
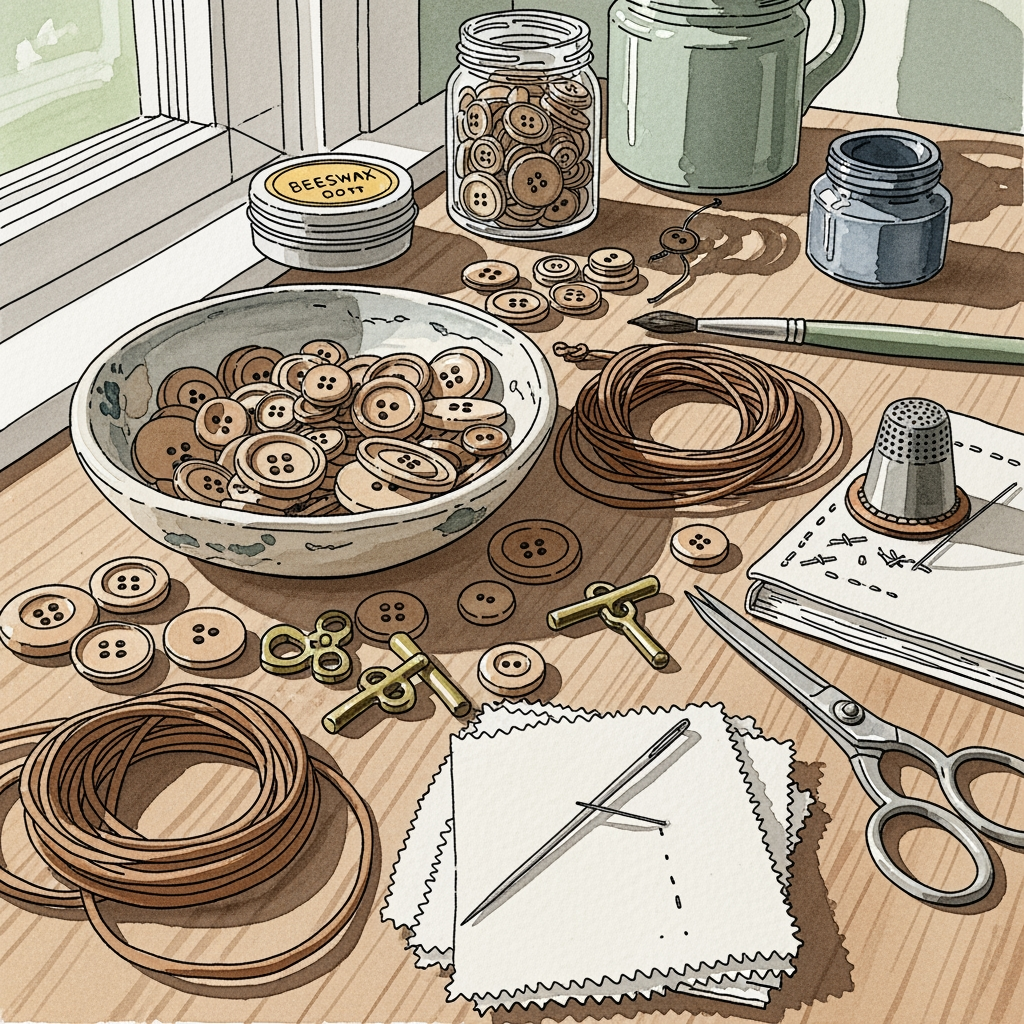
Achieving perfectly aligned buttons and closures is often the difference between a garment that looks homemade and one that looks truly professional. As knitters, we often struggle to mark our stitches without distorting the fabric or leaving behind permanent residue. Choosing the right marking tool requires balancing visibility against the delicate nature of your yarn. This guide breaks down the best options to ensure your hardware sits exactly where it belongs.
Clover Chaco Liner Pen: Best Precision Choice

The Clover Chaco Liner Pen is a favorite because it mimics the experience of drawing with a pen rather than dragging a block of chalk. It uses a small, toothed wheel to deposit powdered chalk in a consistent, thin line.
This is ideal when you need to mark a specific stitch column for a buttonhole placement on a cardigan. Because the line is so fine, you won’t lose your place in your stitch pattern or accidentally mark neighboring loops.
However, be aware that the powder can sometimes be a bit "dusty" if you apply too much pressure. Keep a light hand, and you’ll find it’s the most reliable way to get a clean, temporary mark on finished fabric.
Dritz Tailor’s Chalk: The Essential Classic

Every knitter’s notions bag should contain a classic block of tailor’s chalk. It is inexpensive, incredibly simple to use, and requires no mechanical parts that might fail during a project.
These blocks are perfect for marking the placement of large toggles or heavy-duty snaps on thick, rustic wools. The chalk is dense and holds its shape, allowing you to drag it across the surface of the knitting without catching on the fiber plies.
The tradeoff here is the thickness of the line. Because the edges of the chalk wear down quickly, it can be difficult to achieve surgical precision on fine-gauge lace or delicate fingering-weight socks.
Sewline Fabric Pencil: Best for Fine Detail

When you are working on a high-end project like a silk-blend sweater or a complex brioche stitch, you need a tool that won’t distort the fabric. The Sewline Fabric Pencil is essentially a mechanical pencil filled with ceramic chalk lead.
It provides a sharp, consistent line that doesn’t crumble or blow away when you move the garment. This is the gold standard for marking precise buttonhole centers on dense, non-fuzzy yarns like cotton or superwash wool.
The main drawback is that the lead can be fragile if you press too hard against a textured stitch. Treat it like a delicate drawing tool, and it will serve you well for years.
Bohin Chalk Pencil: Best for Delicate Knits

Bohin pencils are designed for those who work with luxury fibers that are prone to snagging. The chalk is formulated to be exceptionally smooth, meaning it glides over the surface of the yarn rather than digging into the twist.
If you are working with mohair or angora, you know that traditional chalk can become trapped in the halo of the fiber. The Bohin formula is designed to sit on top of the fiber, making it much easier to brush off later.
Always test this on a small scrap of your yarn before marking your main garment. While it is gentle, the pigment intensity can vary significantly depending on the fiber’s absorbency.
Prym Ergonomic Chalk Wheel: Best for Comfort

If you have arthritis or struggle with hand fatigue, the Prym Ergonomic Chalk Wheel is a game-changer. The casing is shaped to fit comfortably in the palm, reducing the strain that comes from pinching a thin pencil or a block of chalk.
The wheel mechanism is exceptionally smooth, allowing for a steady flow of chalk even if you are marking a long, vertical line for a button band. It is particularly useful when you are marking a large garment that requires a steady hand.
The only real downside is the size of the tool itself. It is bulkier than a standard pencil, so it may not be the best choice for marking tight, confined spaces inside a small garment neckband.
Tailor’s Wax Chalk: Best for Heavy Fabrics
Wax-based tailor’s chalk is a different beast entirely, designed for heavy-duty applications. It is much more resistant to rubbing off than standard powder, which is a major advantage when you are handling a large, heavy sweater during the sewing process.
This is the best choice for heavy, felted wool or thick, tightly twisted yarns that don’t take well to dry powder. The wax bites into the fiber, ensuring your marks stay visible until you are ready to remove them.
Use caution, though: because these contain wax, they are more likely to leave a residue if not removed properly. Always check the manufacturer’s instructions for heat-setting or cleaning requirements before applying it to your project.
How to Choose Chalk for Different Yarn Fibers
Your choice of chalk should shift based on the fiber content of your project. Natural, grippy fibers like Highland wool hold chalk differently than slick, synthetic fibers like nylon or acrylic.
- Superwash Wool: These fibers are smooth and can be slippery; use a wax-based or high-pigment chalk to ensure the mark stays put.
- Mohair/Angora: Avoid abrasive chalks that can snag the halo; use a soft, powder-based wheel.
- Cotton/Linen: These fibers are often less absorbent; mechanical pencils work best here to ensure a crisp line.
- Dark Yarns: Always opt for white or yellow chalk, as these provide the highest contrast against dark pigments.
Testing Chalk Removal on Your Knitting Swatch
Never skip the swatch test. Your swatch is the perfect place to verify that your chosen marking tool will actually disappear when you want it to.
After you have marked your swatch, try removing the chalk using the method you plan to use on the final garment. If you plan on steam-blocking, see if the steam sets the chalk rather than removing it.
If the chalk leaves a faint outline, try using a soft, clean toothbrush to gently flick the powder out of the stitches. Never use water to remove chalk until you are certain it isn’t water-soluble, as some pigments can bleed into the fiber.
Avoiding Permanent Stains on Light Yarn Colors
Marking light-colored yarn, especially white or cream wool, carries the risk of permanent discoloration. Certain chalks contain binders or dyes that can react with the natural oils in your yarn or the minerals in your water.
Always choose chalks labeled as "tailor’s chalk" or "fabric-safe." Avoid using colored chalks on light yarns; stick to white or light yellow whenever possible to prevent pigment transfer.
If you are worried about staining, consider marking the wrong side of the fabric whenever possible. If the mark must be on the right side, keep it as small as a single stitch to minimize the surface area affected.
Essential Marking Tips for Accurate Closures
Accuracy in closures comes down to consistency. When marking buttonhole positions, place your garment flat on a hard surface and use a measuring tape to ensure your spacing is perfectly symmetrical.
Don’t rely on your eyes alone; use a knitting gauge or a ruler to verify the distance between each button. If you are marking a button band, make sure the band is not stretched or compressed while you are working.
Finally, always mark your closure positions after the garment has been blocked. Blocking changes the dimensions of your knitting, and marking before this step will almost always result in misaligned buttons.
Investing in a quality marking tool will save you hours of frustration and ensure your finished projects look as good as they feel. Remember that the best tool is the one that provides the visibility you need without compromising the integrity of your hard-earned stitches. Take your time, test your materials, and enjoy the satisfaction of a perfectly placed closure. Happy knitting!