6 Best Gauge Swatches For Checking Tension To Master
Master your knitting tension with these six essential gauge swatches. Learn how to ensure perfect project sizing and consistent stitches for every pattern.
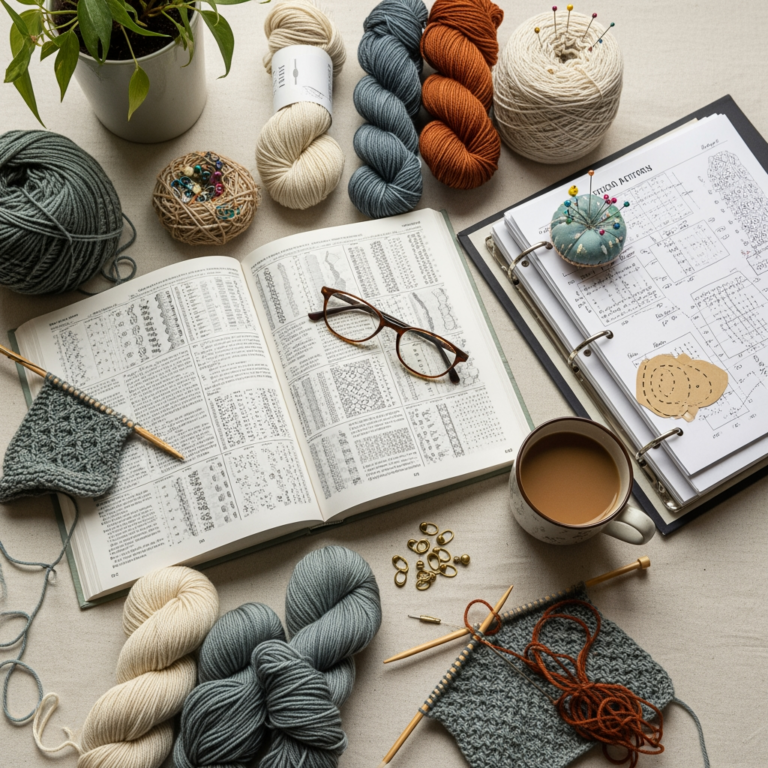
Mastering your gauge is the single most important step between knitting a wearable garment and creating a beautiful, oversized rag. Many knitters view swatching as a chore, but it is actually your most valuable diagnostic tool for ensuring your hard work fits perfectly. By understanding how different stitch patterns influence tension, you can stop guessing and start knitting with confidence. This guide explores the essential swatch techniques every maker needs to master for professional, consistent results.
The Standard 4-Inch Stockinette Gauge Swatch
The standard 4-inch stockinette swatch is the industry baseline for a reason. It provides a clean, neutral canvas to measure how your specific tension interacts with a yarn’s fiber content and twist.
To get an accurate read, you must knit your swatch significantly larger than 4 inches—aim for at least 6 inches square. This allows you to measure the center stitches, avoiding the distorted tension found at the edges where your yarn tension naturally shifts during the turn.
If you are using a sticky wool like a high-twist Highland or a slippery silk blend, this swatch will tell you how the yarn behaves under normal conditions. Always remember that your "at-rest" tension is rarely the same as your "in-the-round" tension, so treat this as a starting point rather than a final decree.
The Circular Knitting Gauge Swatch Technique
Many knitters are shocked to find their flat-knitted gauge differs drastically from their circular gauge. This happens because the physical mechanics of knitting every row on the right side differ from the alternating purl rows of flat knitting.
The most accurate way to swatch for a sweater worked in the round is to use the "mock circular" method. You knit your swatch, but instead of turning, you carry the yarn loosely across the back to the beginning of the row before starting again.
This mimics the continuous motion of circular needles and captures the unique way your tension changes when you never have to purl. If you find your purl stitches are looser than your knit stitches, this method will reveal that discrepancy immediately.
The Fair Isle Colorwork Gauge Swatch Method
Colorwork is notoriously tighter than stockinette because the floats—the strands of yarn carried across the back—restrict the fabric’s movement. If you don’t swatch in the pattern, your sweater will likely end up too small to pull over your head.
You must knit a swatch that includes the actual color motif you plan to use. If the design features long floats, make sure your swatch includes them, as they will pull the fabric inward and change your row gauge significantly.
Don’t be afraid to go up one or even two needle sizes for colorwork compared to your stockinette gauge. The goal is to maintain the same drape, not the same needle size.
The Lace Pattern Gauge Swatch Measurement
Lace is deceptive because it usually looks like a tangled mess of holes and yarn-overs until it is blocked. Because lace relies on open, airy stitches, your gauge will change dramatically once you stretch it out to its final shape.
When measuring lace, you aren’t just checking for stitches per inch; you are checking for the intended openness of the design. A swatch that is 4 inches unstretched might grow to 6 inches once it is pinned out and dried.
Always block your lace swatch aggressively to see how the yarn reacts. If the yarn is a soft alpaca or a delicate lace-weight mohair, it will bloom and expand, potentially rendering your initial needle size choice too large.
The Ribbing and Elasticity Gauge Swatch
Ribbing is the structural anchor of most garments, yet it is rarely measured correctly. Because ribbing is designed to pull in, measuring it while it is lying flat on a table will give you a false sense of how tight it actually is.
To get a realistic reading, measure your ribbing swatch while it is slightly stretched—roughly the amount it would be stretched when worn on your wrist or waist. If you measure it completely relaxed, you will likely end up with cuffs that are baggy and lack recovery.
Consider the fiber’s memory when swatching ribbing. A superwash wool may grow significantly, while a cotton or linen blend will have zero elasticity and may need to be knit on smaller needles to prevent sagging.
The Garter Stitch Gauge Swatch Calculation
Garter stitch is a "squishy" fabric that behaves very differently than stockinette. Because every row is a knit row, the fabric is much taller and denser, meaning you will have fewer stitches per inch but significantly more rows per inch.
If you are replacing a stockinette section with garter stitch, you cannot rely on your stockinette gauge. The fabric will grow vertically, which can ruin the proportions of a garment if you aren’t accounting for the extra row height.
Always count your rows carefully in garter stitch. It is easy to lose track of where one ridge ends and another begins, so use a stitch marker every ten rows to keep your data precise.
Why Washing and Blocking Your Swatch Matters
Never trust a swatch that hasn’t been washed and blocked. Yarn is often treated with spinning oils or sizing agents that change its texture and drape; washing removes these and allows the fibers to "relax" into their final state.
When you block your swatch, you are simulating the final life of the garment. If you plan to machine wash your sweater, throw the swatch in the machine with your regular load to see if it felts or shrinks.
Blocking also reveals how colors interact, especially if you are working with hand-dyed yarns that might bleed. If your swatch bleeds onto your white blocking mat, you know to treat your finished garment with extra care.
How to Measure Stitches Per Inch Accurately
The most common error in swatching is using a flimsy ruler that bends or slips. Invest in a dedicated gauge tool—a rigid plastic or metal square with a cutout—to ensure your measurement is perfectly straight and square.
Place your gauge tool in the center of the swatch, away from the edges. Count your stitches to the nearest quarter-stitch; even a half-stitch difference over 4 inches can result in a garment that is several inches too large or small.
If you are working with a textured yarn, like a bouclé or a slub, counting can be difficult. In these cases, it is often better to measure a wider area, such as 8 inches, and divide by two to get a more accurate average.
Adjusting Needle Size to Hit Your Target Gauge
If your swatch is too small, your stitches are too tight, and you should move up a needle size. Conversely, if your swatch is too large, your stitches are too loose, and you should move down a needle size.
Don’t feel pressured to use the needle size suggested on the yarn label. That label is merely a suggestion based on a generic test; your personal tension, the needle material (bamboo vs. metal), and your knitting style are the real variables.
If you are between sizes and cannot hit the exact gauge, always choose the needle that produces the fabric you prefer. You can often adjust the pattern size to compensate for a slightly different gauge, but you cannot fix a fabric that feels stiff or overly loose.
Common Mistakes When Swatching for Garments
The biggest mistake is knitting a swatch that is too small. If you only knit a 2-inch square, you are not giving your stitches enough room to settle into their natural tension, leading to inaccurate data.
Another common pitfall is failing to account for the weight of the garment. A small swatch doesn’t have the gravitational pull of a full-length sweater, which can stretch out the stitches over time.
Finally, stop assuming your gauge is static. Your tension will change based on your mood, the time of day, and whether you are rushing to finish a project. If you feel your tension shifting, take a break and re-check your gauge once you are relaxed.
Swatching is the bridge between a project that sits in your closet and one that you wear until the elbows fray. While it requires patience, the time spent testing your tension is an investment in your own success as a maker. Trust your tools, respect the fiber, and always prioritize the final drape of the fabric over the numbers on a ball band. Happy knitting, and may your gauge always be true.