6 Best Waxes For Wooden Tool Maintenance To Use
Protect your gear with our top six wooden tool waxes. Discover how these essential finishes prevent cracking, repel moisture, and extend your tools’ lifespan.
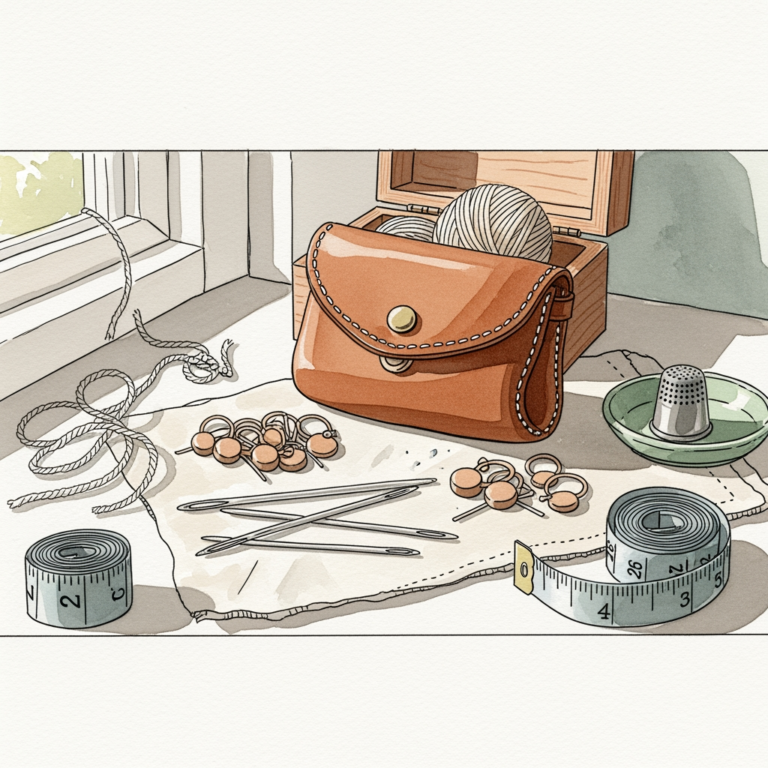
Maintaining your wooden knitting needles is the secret to ensuring your favorite tools last for decades of projects. Dry, splintered wood can snag delicate lace yarns or drag against high-twist wool, turning a relaxing hobby into a frustrating struggle. By applying the right wax, you restore the natural luster and glide that makes wooden needles so beloved. This guide explores the best options to keep your tools in peak condition.
Howard Products Feed-N-Wax Wood Polish and Conditioner

This product is a classic for a reason, blending beeswax, carnauba wax, and orange oil to penetrate deep into the wood grain. It is particularly effective for reviving vintage wooden needles that have lost their original factory finish.
The orange oil acts as a solvent to clean away the oils from your hands that accumulate over time. Once the oil evaporates, the waxes remain behind to seal the wood fibers. This prevents moisture from causing your needles to warp or swell during humid knitting sessions.
However, be mindful that it leaves a slightly more "grippy" surface than pure carnauba waxes. If you are knitting with sticky, high-friction yarns like mohair, you might find this finish slows down your speed. It is best suited for needles used with smoother, plied wools.
Bee’s Oil Wood Wax for Knitting Needles and Tools
Bee’s Oil is a fantastic choice if you prefer a product that feels less like a furniture polish and more like a tool conditioner. It is generally thinner than paste waxes, making it much easier to apply in thin, even layers.
Because it absorbs quickly, you don’t have to worry about a waxy residue transferring onto your light-colored yarn projects. This is a common fear for knitters working on heirloom baby blankets or delicate lace shawls.
The main tradeoff is that it requires more frequent application than harder paste waxes. If you knit daily, expect to re-apply this every few weeks to keep the wood from feeling "thirsty." It is the perfect maintenance wax for the knitter who enjoys the ritual of caring for their tools.
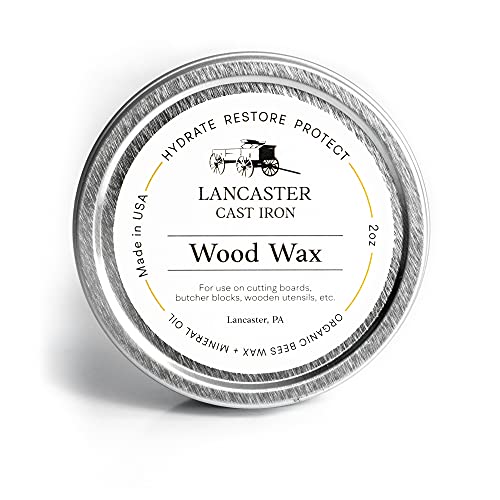
Clapham’s Beeswax Salad Bowl Finish for Tool Care

Since this wax is food-safe, it is an excellent choice for knitters with sensitive skin or those who worry about chemical residues. It is made from high-quality beeswax and mineral oil, providing a very natural, matte finish.
The finish is incredibly durable, creating a protective barrier that stands up well to the friction of moving stitches back and forth. It won’t make your needles "slippery" like plastic or metal, but it will ensure they don’t drag.
Use this if you find your wooden needles are starting to feel rough or "fuzzy" to the touch. It fills in microscopic gaps in the wood grain, effectively smoothing out the surface. It is a reliable, no-nonsense option for any wooden tool set.
Daddy Van’s All Natural Beeswax Wood Furniture Polish
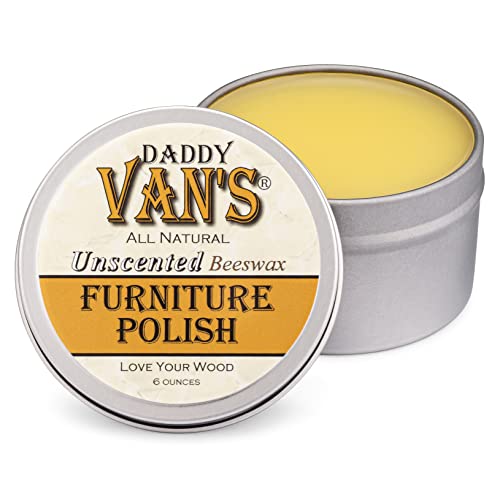
Daddy Van’s is a great "all-in-one" product if you also happen to have wooden yarn bowls or knitting chairs in your craft room. It is entirely non-toxic and lacks the strong chemical scent found in some industrial wood polishes.
The beeswax content is quite high, which provides a lovely, subtle sheen to your needles. It helps the wood maintain its natural color without darkening it significantly, which is a major plus for lighter woods like birch or maple.
The only downside is that it can be a bit thick straight from the tin. A little goes a very long way; if you apply too much, you will be buffing for a long time to remove the excess. Start with a tiny amount on a soft cloth to avoid a sticky buildup.
Minwax Paste Finishing Wax for Smooth Tool Surfaces

If you are a speed knitter who finds wooden needles too "slow" compared to metal, this is your best friend. It creates a harder, slicker surface than most natural beeswax blends.
This wax is ideal for projects involving tight gauges, such as socks or stranded colorwork mittens. The added slip helps your stitches move across the needle with significantly less effort, reducing hand fatigue during long sessions.
Be aware that this is a synthetic-heavy product, so it’s not for those looking for a strictly organic finish. Because it creates such a slick surface, it can make your stitches prone to sliding off the needles if you aren’t careful. Use it sparingly to maintain control over your work.
Renaissance Micro-Crystalline Wax for Tool Protection
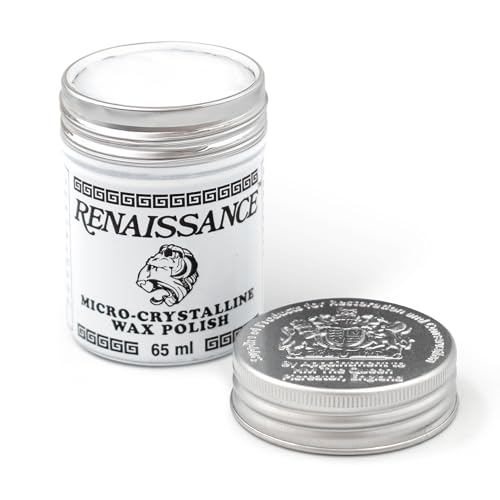
Renaissance Wax is the gold standard for long-term preservation, often used by museums to protect artifacts. It is completely inert and will not yellow or darken your wooden needles over time.
It is particularly useful if you live in an area with extreme seasonal humidity changes. This wax creates a moisture-resistant barrier that is far more robust than standard furniture waxes.
While it is more expensive and harder to source than other options, a single tin will last a lifetime. It is the ultimate choice for your most expensive, hand-turned wooden needles. It provides a professional-grade finish that feels both smooth and protected.
Why Wooden Knitting Tools Require Regular Maintenance
Wooden needles are porous, meaning they absorb the natural oils from your skin while simultaneously losing their own moisture to the environment. Over time, this causes the wood to become brittle, leading to snags that can break delicate yarn fibers.
Regular waxing seals these pores, keeping the wood supple and preventing it from drying out. Think of it like conditioning your hair; without the extra moisture, the "cuticles" of the wood become raised and rough.
Neglecting maintenance can also lead to warping, especially if your needles are stored in a damp environment. A well-waxed needle is a stable needle, ensuring your gauge remains consistent from the first row to the last.
How to Properly Apply Wax to Your Wooden Needles
Start with a clean, dry needle; if there is any grime or lint, wipe it down with a slightly damp cloth and let it dry completely. Take a small amount of wax on a soft, lint-free cotton cloth—an old t-shirt works perfectly.
Rub the wax onto the needle in long, even strokes, ensuring you cover the entire surface including the tips. Let the wax sit for a few minutes so the wood can absorb the oils.
Finally, use a clean section of the cloth to buff the needle until it feels smooth and no longer tacky. If the needle feels sticky, you have used too much wax; just keep buffing until the excess is removed.
Signs That Your Wooden Tools Need Re-Conditioning
The most obvious sign is a change in the "feel" of the needle; if it feels scratchy or creates a "squeak" against the yarn, it’s time for a treatment. You may also notice the wood looking dull, grey, or faded compared to when you first bought it.
If you find that your stitches are constantly catching on the needle tip or the join, the wood has likely become too dry. Snagging is a major indicator that the surface finish has worn away.
Don’t wait for your needles to splinter before taking action. If you feel any resistance while sliding your stitches, treat it as a signal that your tools need a little TLC.
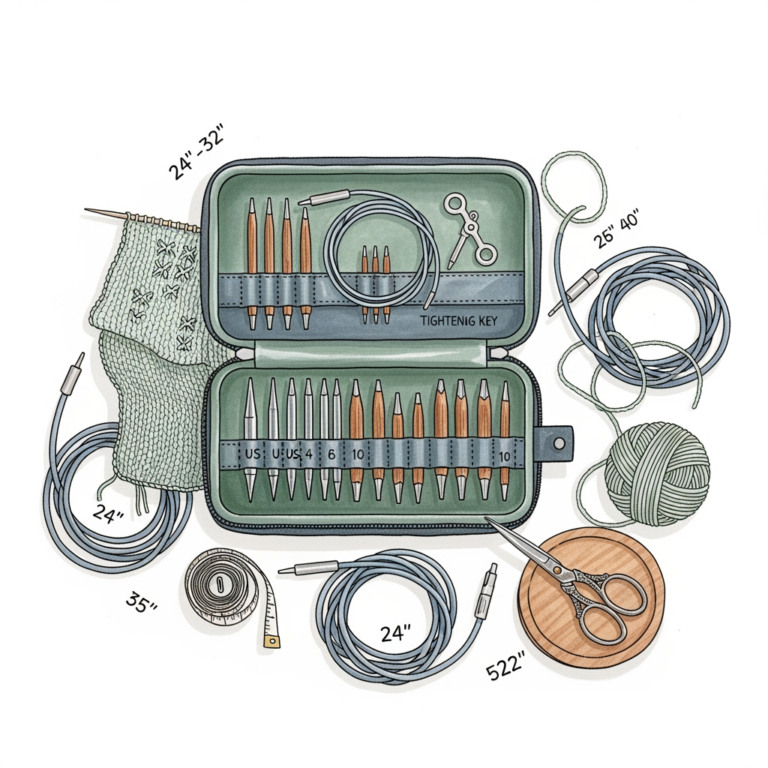
Best Practices for Storing Your Wooden Knitting Tools
Never store your wooden needles in direct sunlight, as UV rays can fade the wood and cause it to dry out rapidly. A cool, dark place is best, ideally in a fabric roll or a wooden needle case that allows the wood to "breathe."
Avoid leaving your needles in a car or near a heater, as heat fluctuations are the enemy of natural materials. If you live in a very dry climate, keeping a small packet of silica gel or a humidity-controlled environment can prevent cracking.
Always ensure your needles are clean and waxed before putting them into long-term storage. This simple step ensures that when you pull them out for your next project, they are ready to knit immediately.
Taking care of your wooden tools is a rewarding part of the knitting craft that pays dividends in both tool longevity and stitch quality. By choosing a wax that matches your knitting style and the specific needs of your needles, you ensure a smooth, snag-free experience. Treat your needles with the same care you give your hand-dyed yarns, and they will support your creativity for years to come. Happy knitting, and may your stitches always slide with ease.