7 Best Yarn Needles For Fringe Attachment To Try
Discover the 7 best yarn needles for fringe attachment. This guide evaluates durability and eye size to help you achieve professional, secure finishes easily.
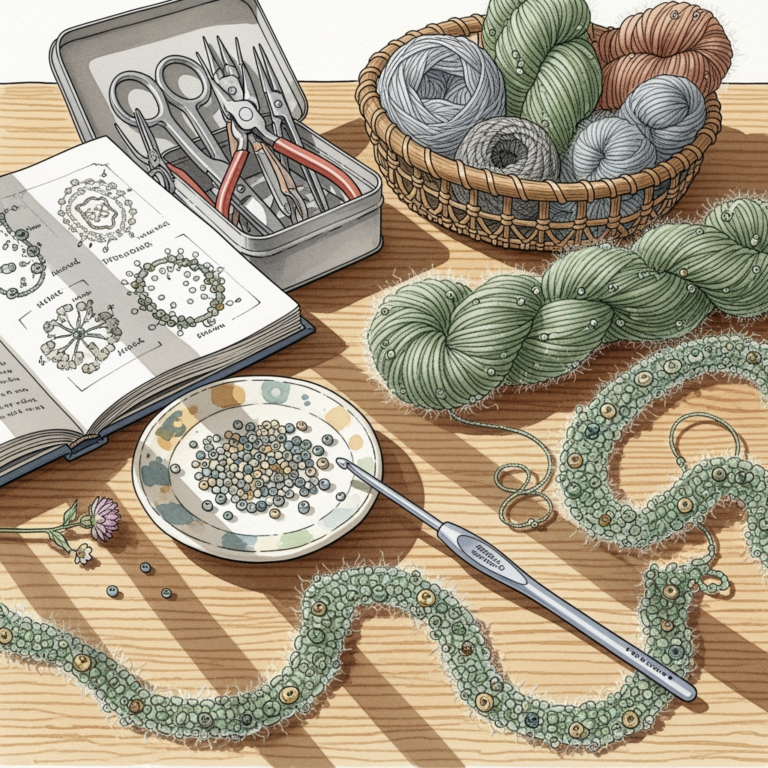
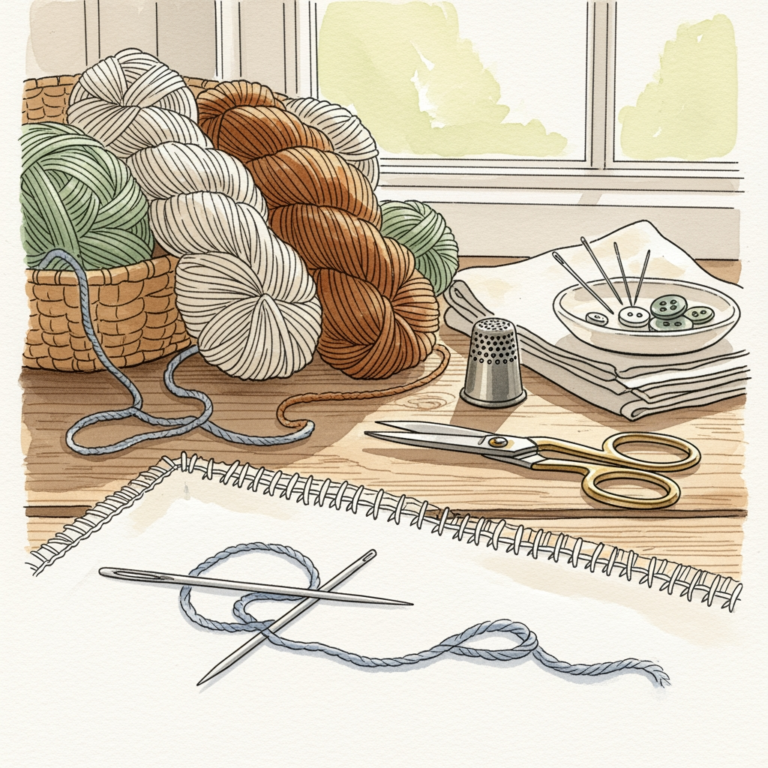
Adding fringe to a finished shawl or blanket can elevate a simple project into a sophisticated statement piece. However, using the wrong needle can lead to frayed yarn, split plies, and endless frustration during the attachment process. Selecting the right tool is the secret to achieving a professional, secure finish that holds up to wear. This guide explores the best needles on the market to ensure your fringe stays exactly where you want it.
Clover Chibi Bent Tip Needles: Best Overall Choice

The bent tip on these needles is a game-changer for anyone who has struggled to slide under a tight stitch. That slight angle allows you to scoop up the fabric without poking through the fibers of your base project.
These needles are made from a smooth, lightweight plastic that glides effortlessly through most wool and acrylic blends. Because they are slightly flexible, they are forgiving if you accidentally catch a stitch at an awkward angle.
Many knitters find that the rounded, blunt tip is safer for delicate fibers like mohair or silk. While plastic needles can eventually show wear, the Chibi set is a reliable, go-to staple for almost any fringe project.
Dritz Yarn Darner Needles: Best Budget Option
If you find yourself losing needles between the couch cushions, the Dritz Yarn Darner is your best friend. These are the classic, no-nonsense steel needles you likely grew up seeing in your grandmother’s sewing kit.
They feature a long, slender body that makes them incredibly easy to maneuver through dense fringe knots. Because they are made of steel, they are rigid and won’t bend when you are pulling thick, bulky weight yarn through a tight connection.
The trade-off here is the sharper point, which requires a bit more care to avoid splitting your yarn. If you are working with a delicate hand-dyed merino, take your time to ensure you aren’t piercing the strand itself.
Cocoknits Steel Stitch Needles: Best Durability
Cocoknits has built a reputation on high-quality, long-lasting tools, and their steel stitch needles are no exception. These are engineered for the knitter who wants a needle that will last a lifetime without rusting or snapping.
The finish is incredibly smooth, which is vital when working with sticky fibers like high-twist cotton or linen. A smooth surface prevents the needle from "grabbing" the yarn, allowing for a fluid motion as you weave in those fringe tails.
These needles are slightly heavier than plastic alternatives, which some knitters find gives them better control. If you prioritize longevity and a premium feel, these are the gold standard for your notions bag.
Susan Bates Finishing Needles: Best for Beginners
When you are just starting out, you don’t need a complex tool; you need something that works reliably every time. Susan Bates finishing needles are an accessible, sturdy entry point for anyone attaching their first set of fringe.
The eyes are generous, making them easy to thread even if your eyesight isn’t what it used to be. The blunt, rounded tip is designed specifically to prevent accidental splitting of your yarn plies, which is the most common mistake beginners make.
While they may lack the ergonomic flair of more expensive sets, they get the job done without fuss. They are the perfect tool to keep on hand for quick repairs or simple finishing tasks.
Tulip Tapestry Needles: Best for Fine Fibers
Tulip needles are crafted in Hiroshima, Japan, and the quality is immediately apparent the moment you hold one. They are polished to a mirror finish, meaning they pass through even the most delicate lace-weight fibers with zero friction.
If you are attaching fringe to a fine-gauge shawl, you need a needle that won’t distort your stitches. The tip is perfectly tapered—sharp enough to be precise, but blunt enough to slide between stitches without piercing them.
They are an investment, but for high-end projects, they are worth every penny. You will notice the difference in how the needle glides through your work, saving you time and preventing fiber damage.
ChiaoGoo Tapestry Needles: Best for Thick Yarns

ChiaoGoo is famous for their knitting needles, and their tapestry needles share that same commitment to functionality. These are designed with a large, flexible eye that accommodates thick, chunky, or roving-style yarns with ease.
If you have ever tried to thread a thick wool yarn through a standard needle, you know the struggle of the yarn bunching up and refusing to pass through. The wide eye on these needles eliminates that bottleneck entirely.
The stainless steel construction ensures they won’t bend under the tension of thick yarn. They are a robust choice for heavy-duty projects like wall hangings or thick, woolly blankets.
Bohin France Tapestry Needles: Best Smooth Finish

Bohin needles are legendary for their nickel-plated finish, which provides a level of smoothness that is hard to beat. They feel almost frictionless against the yarn, making them ideal for long sessions of fringe attachment.
The quality control on these needles is exceptional, ensuring that every needle in the pack is perfectly straight and free of burrs. A burr—a tiny imperfection in the metal—can snag your yarn and ruin a project, but you won’t find that here.
These are a favorite among professional knitters who demand consistency. If you want a tool that disappears in your hand and lets you focus entirely on the rhythm of your work, look no further.
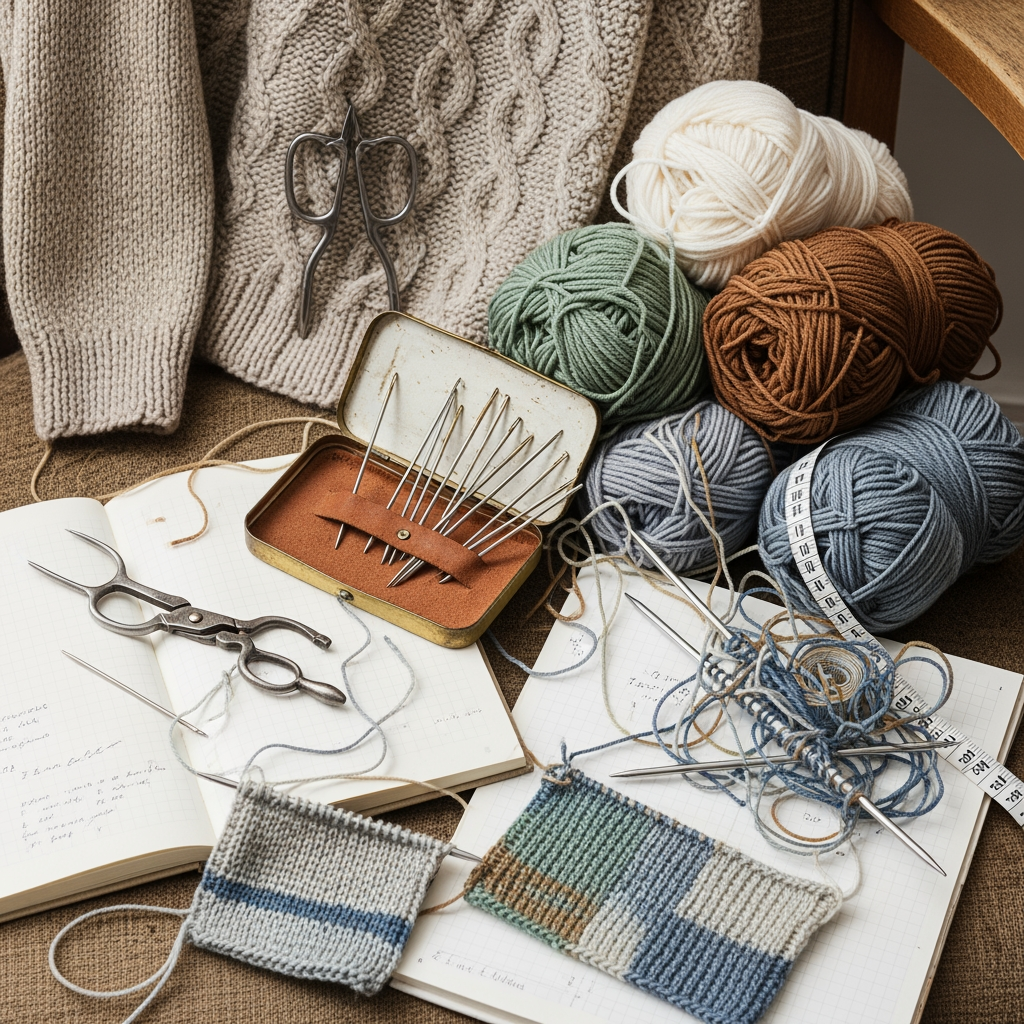
How to Select the Right Needle Eye for Your Fringe
Choosing the right eye size is just as important as choosing the right tip. If the eye is too small, your yarn will fray as you force it through; if it is too large, it will stretch out the stitches in your project.
- For Fine Yarn: Look for a thin, elongated eye that keeps the profile of the needle slim.
- For Bulky Yarn: Choose a needle with a wider, perhaps slightly flattened eye to reduce the bulk at the threading point.
- For Multi-strand Fringe: Use a large eye that allows you to fold the yarn bundle over without creating a massive knot.
Always test your yarn in the eye before you begin. If you have to twist or flatten the yarn significantly to get it through, your needle is too small.
Essential Tips for Securing Fringe Without Snagging
The biggest risk when attaching fringe is unintentionally splitting the yarn of the base fabric. To avoid this, always aim for the "gap" between stitches rather than the center of a stitch loop.
- Use a blunt tip: A sharp needle is more likely to pierce fibers, while a blunt one will naturally push them aside.
- Go slow: Rushing is when mistakes happen; take a moment to look at your stitch structure before pushing the needle through.
- Support the fabric: Hold the area where you are attaching the fringe firmly to keep the tension even.
If you feel resistance, stop immediately. It is much easier to pull the needle back and try a different angle than it is to fix a snagged, broken fiber later.
Troubleshooting Common Fringe Attachment Challenges
If your fringe looks uneven, it might be due to inconsistent tension during the attachment process. To fix this, try using a crochet hook to pull the loop through first, then use your needle to weave in the ends for a cleaner look.
If your yarn keeps slipping out of the needle eye, you may be using a needle that is too small for the thickness of the yarn. Alternatively, try a "locking" technique where you thread the yarn, then poke the needle through the yarn tail itself to create a temporary anchor.
Finally, if you find your fringe is fraying, check the surface of your needle for microscopic scratches. Sometimes, a needle that has been used for years will develop wear that can act like sandpaper on delicate fibers.
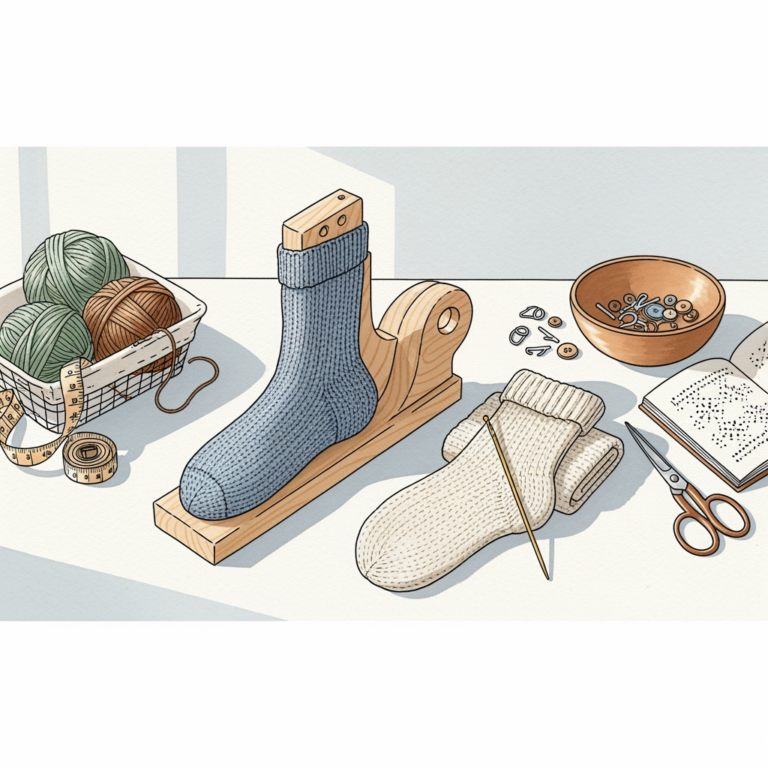
Attaching fringe is the final, rewarding step that brings your hard work to life. By choosing a needle that matches your yarn weight and fiber type, you can ensure a clean, professional finish every time. Don’t be afraid to experiment with different brands until you find the one that feels like an extension of your own hand. With the right tool in your kit, you’ll be able to finish your projects with confidence and ease.